
Pimping my 2000 Jeep Grand Cherokee.
I have a 2000 Jeep Grand Cherokee. I love it. It runs great, is really comfy. The only thing I really didn’t like was that it came with a tape player. Yep. I don’t even own tapes anymore. And I wanted an embedded navigation system. So this was a good opportunity to build something to pimp it up.
Navit, the opensource vector-base navigation software
Fortunately, I have been involved since about 10 years in the Navit project, the first opensource, vector based navigation software. So, I had to put something more modern in my Jeep :)
The screen
Today it is quite easy to find a 2 DIN frame to put a 7" touchscreen in your car. Unfortunately, my Jeep has a 1.5 DIN frame.. So I had to custom-build a frame for it.
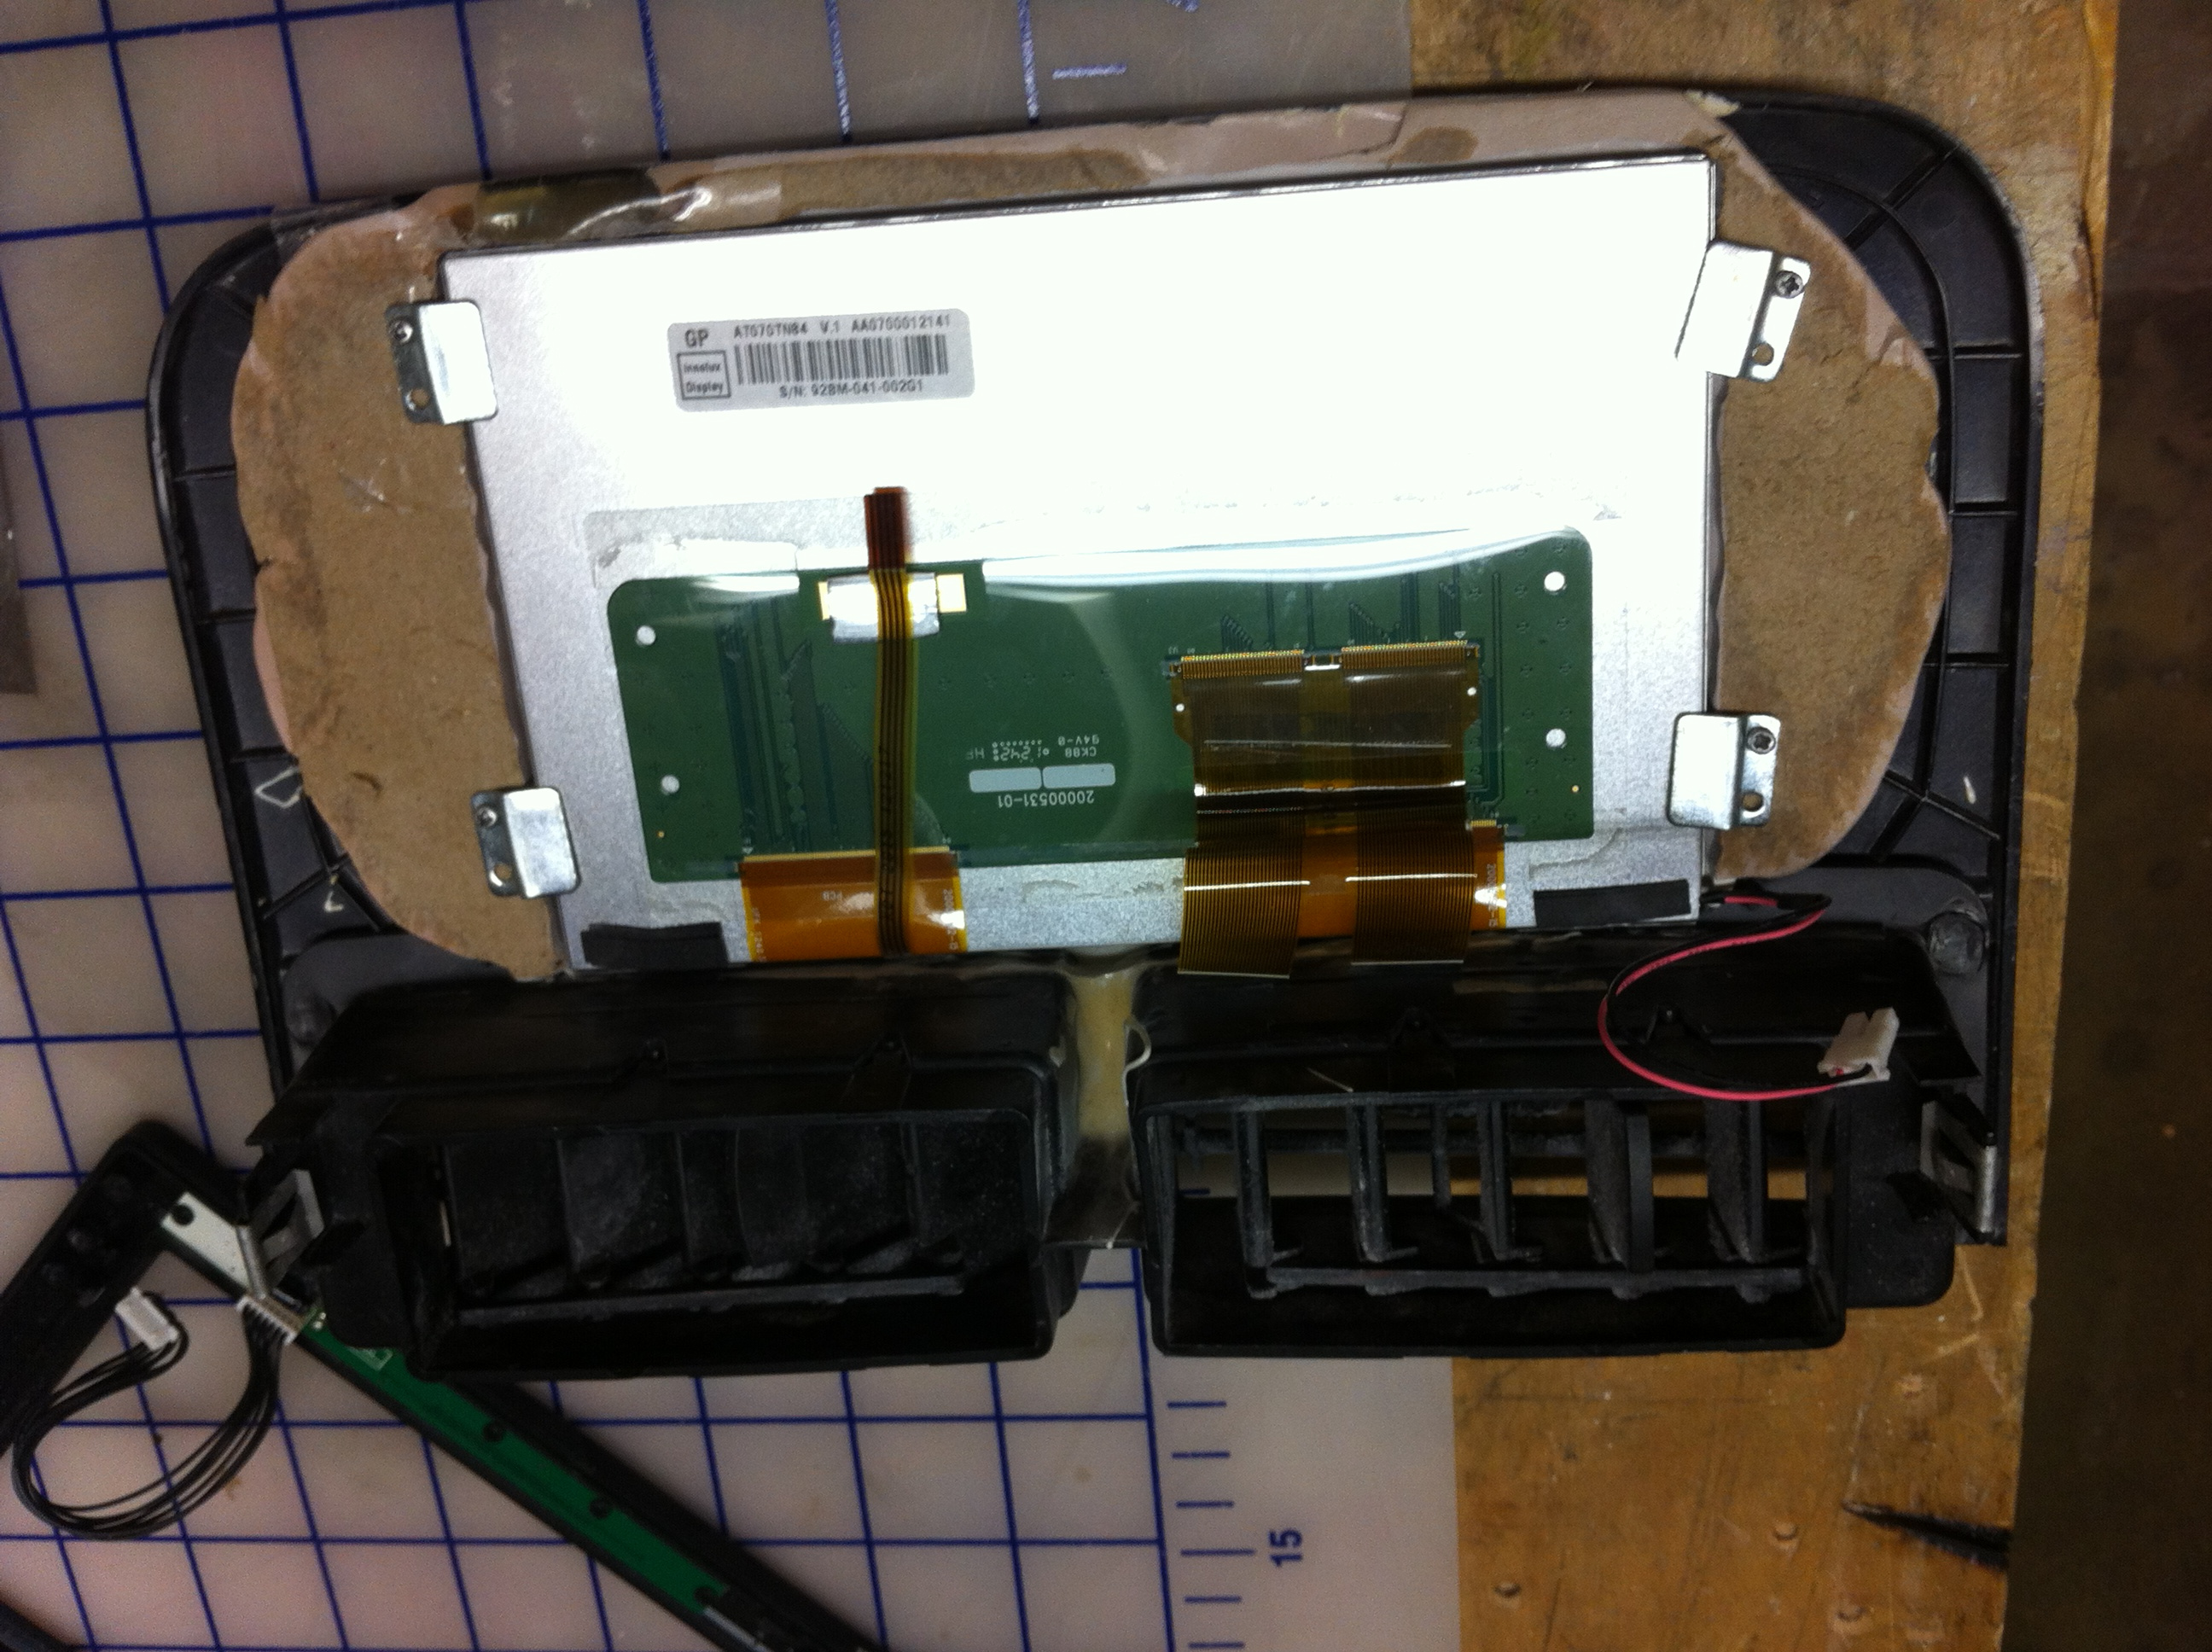 One of the goal of this build is that it should look as factory as possible, and I wanted to be able to remove everything without leaving a trace, in case I would sell the car for example. So instead of modifying the parts from my car, I ordered a new autoradio frame from eBay, a new screen bezel for my touchscreen, and I modified those part. The first step was to mash them together. This gave me a custom sized bezel. I used a dremel to cut them and some automotive bondo to glue them together.
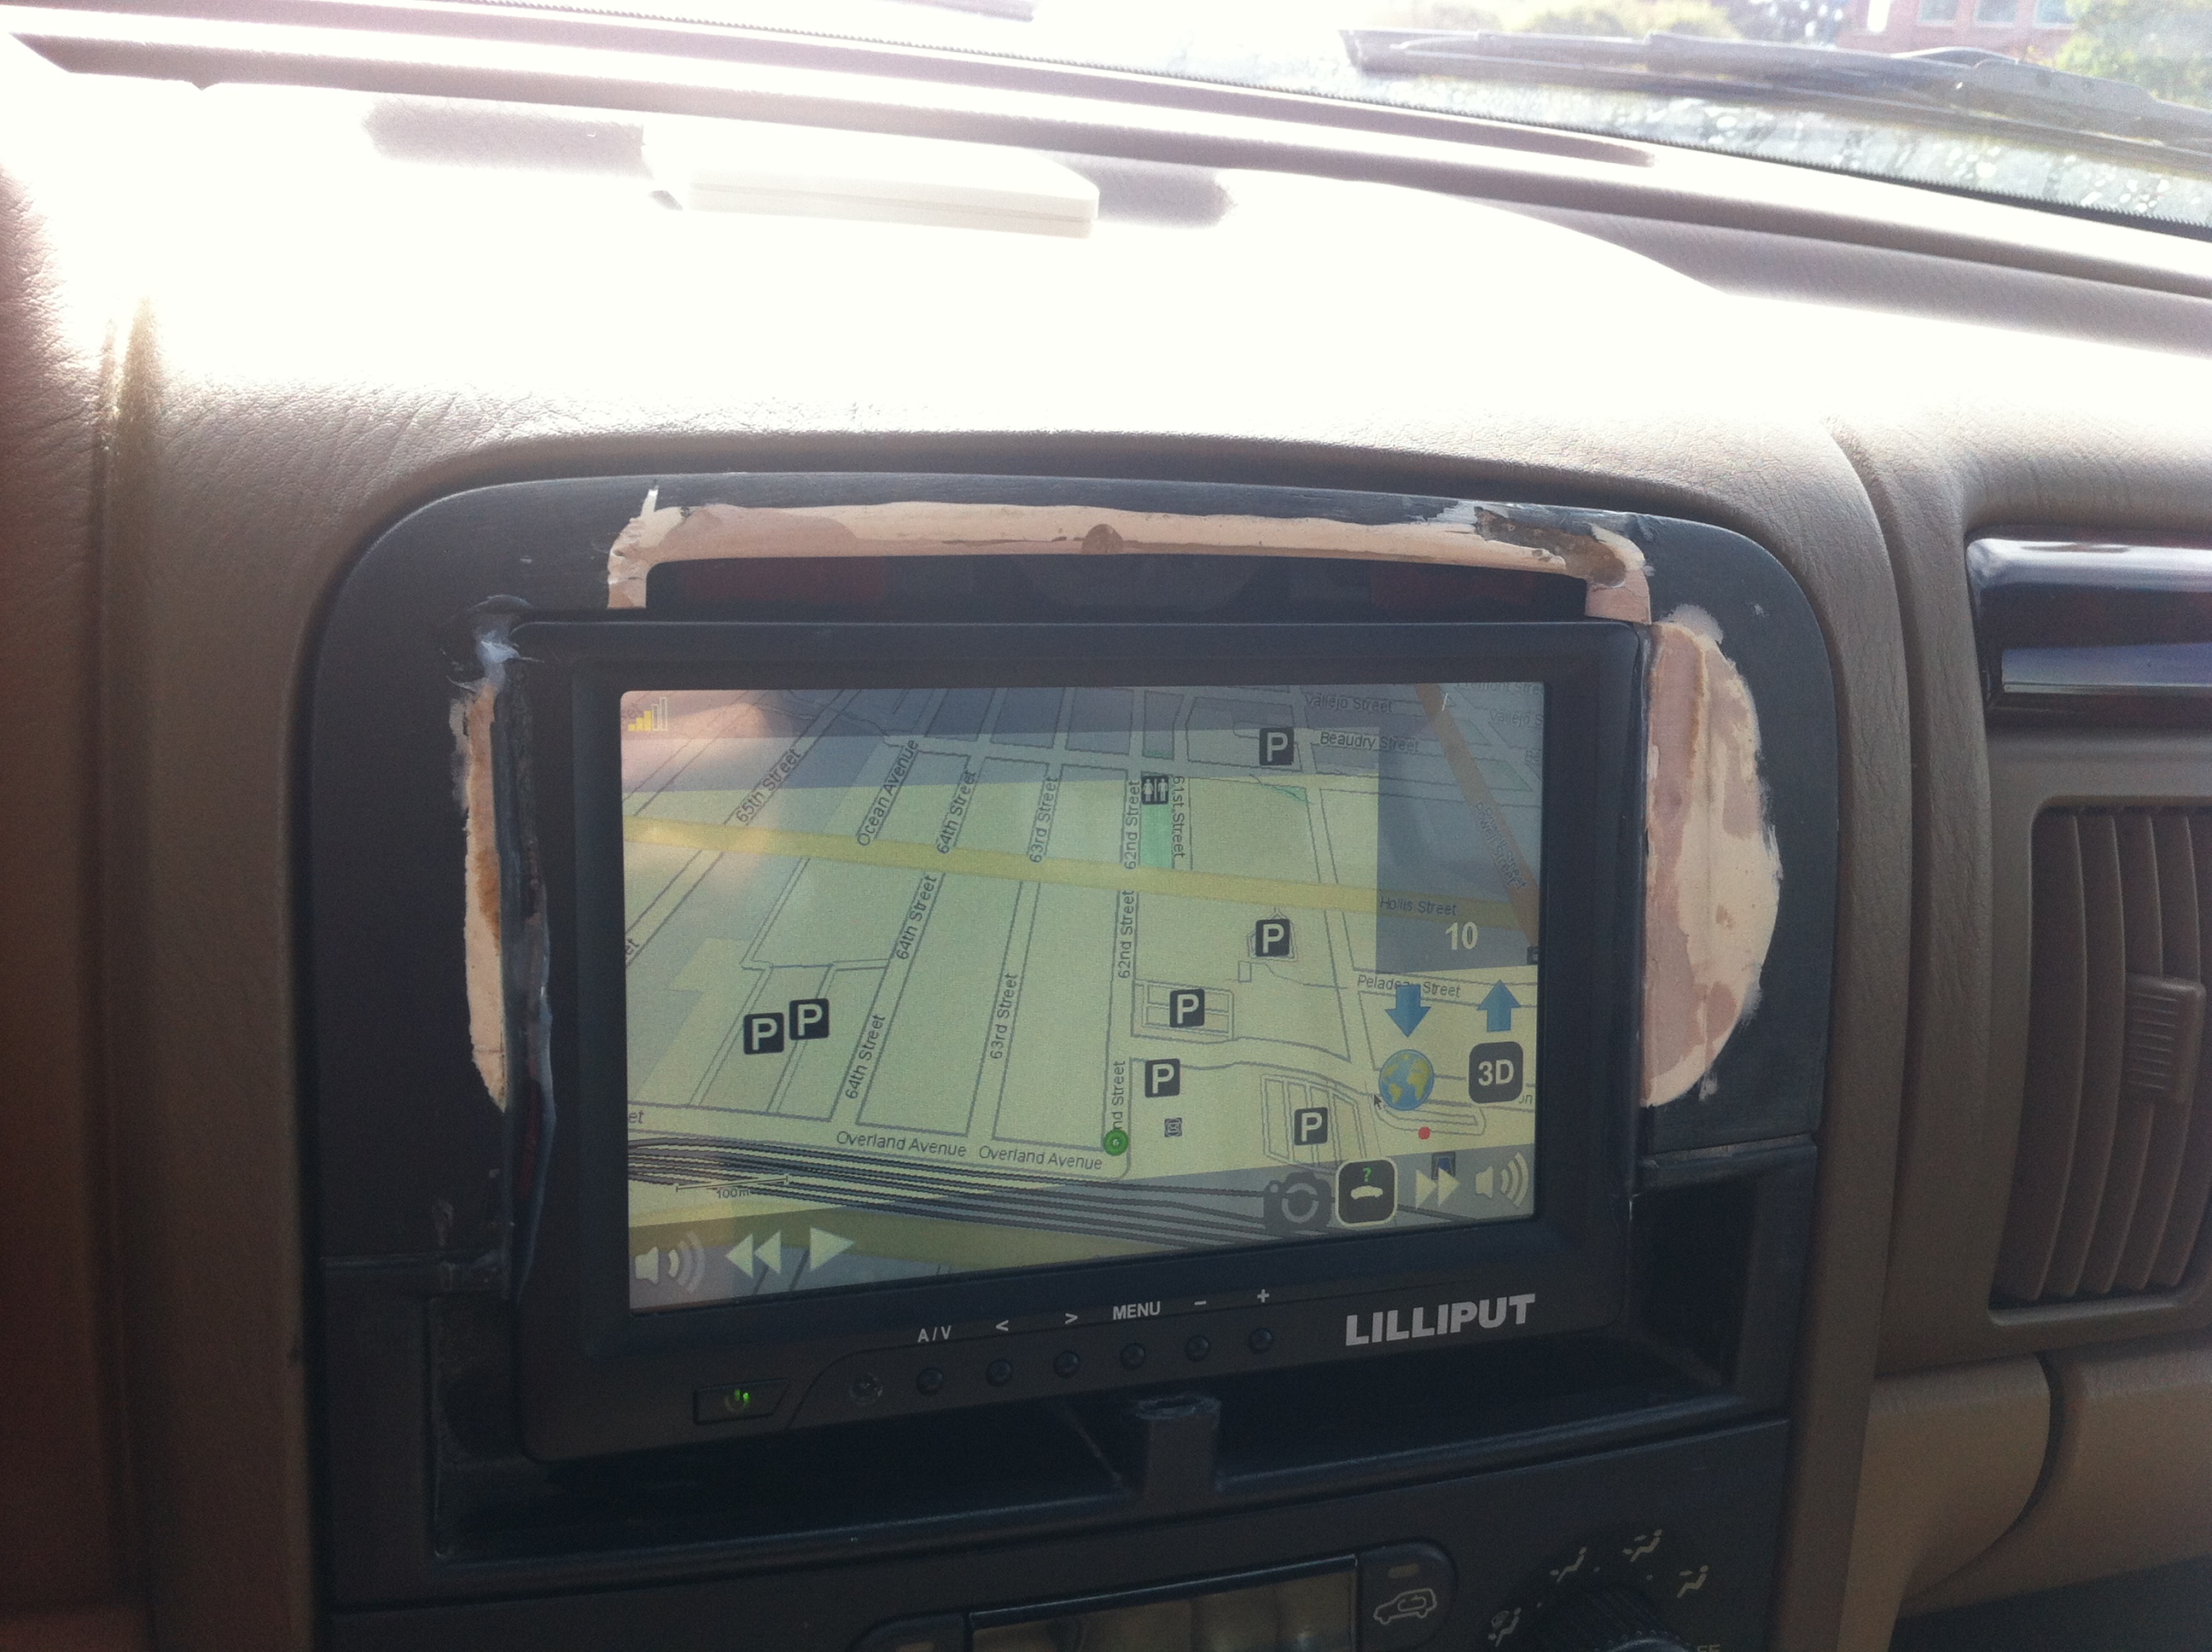 I was quite satisfied with the result. The screen was easy to read, even under direct sunlight exposure. The software was working as expected. I took it for a ride to test it, and ensure that there was no side effects such as annoying vibration noises. All good! I had to sacrifice the A/C vents right below the screen, because otherwise my touchscreen would not fit. Fortunately the air can still flow, I only had to remove the parts that allows you to control the airflow direction.
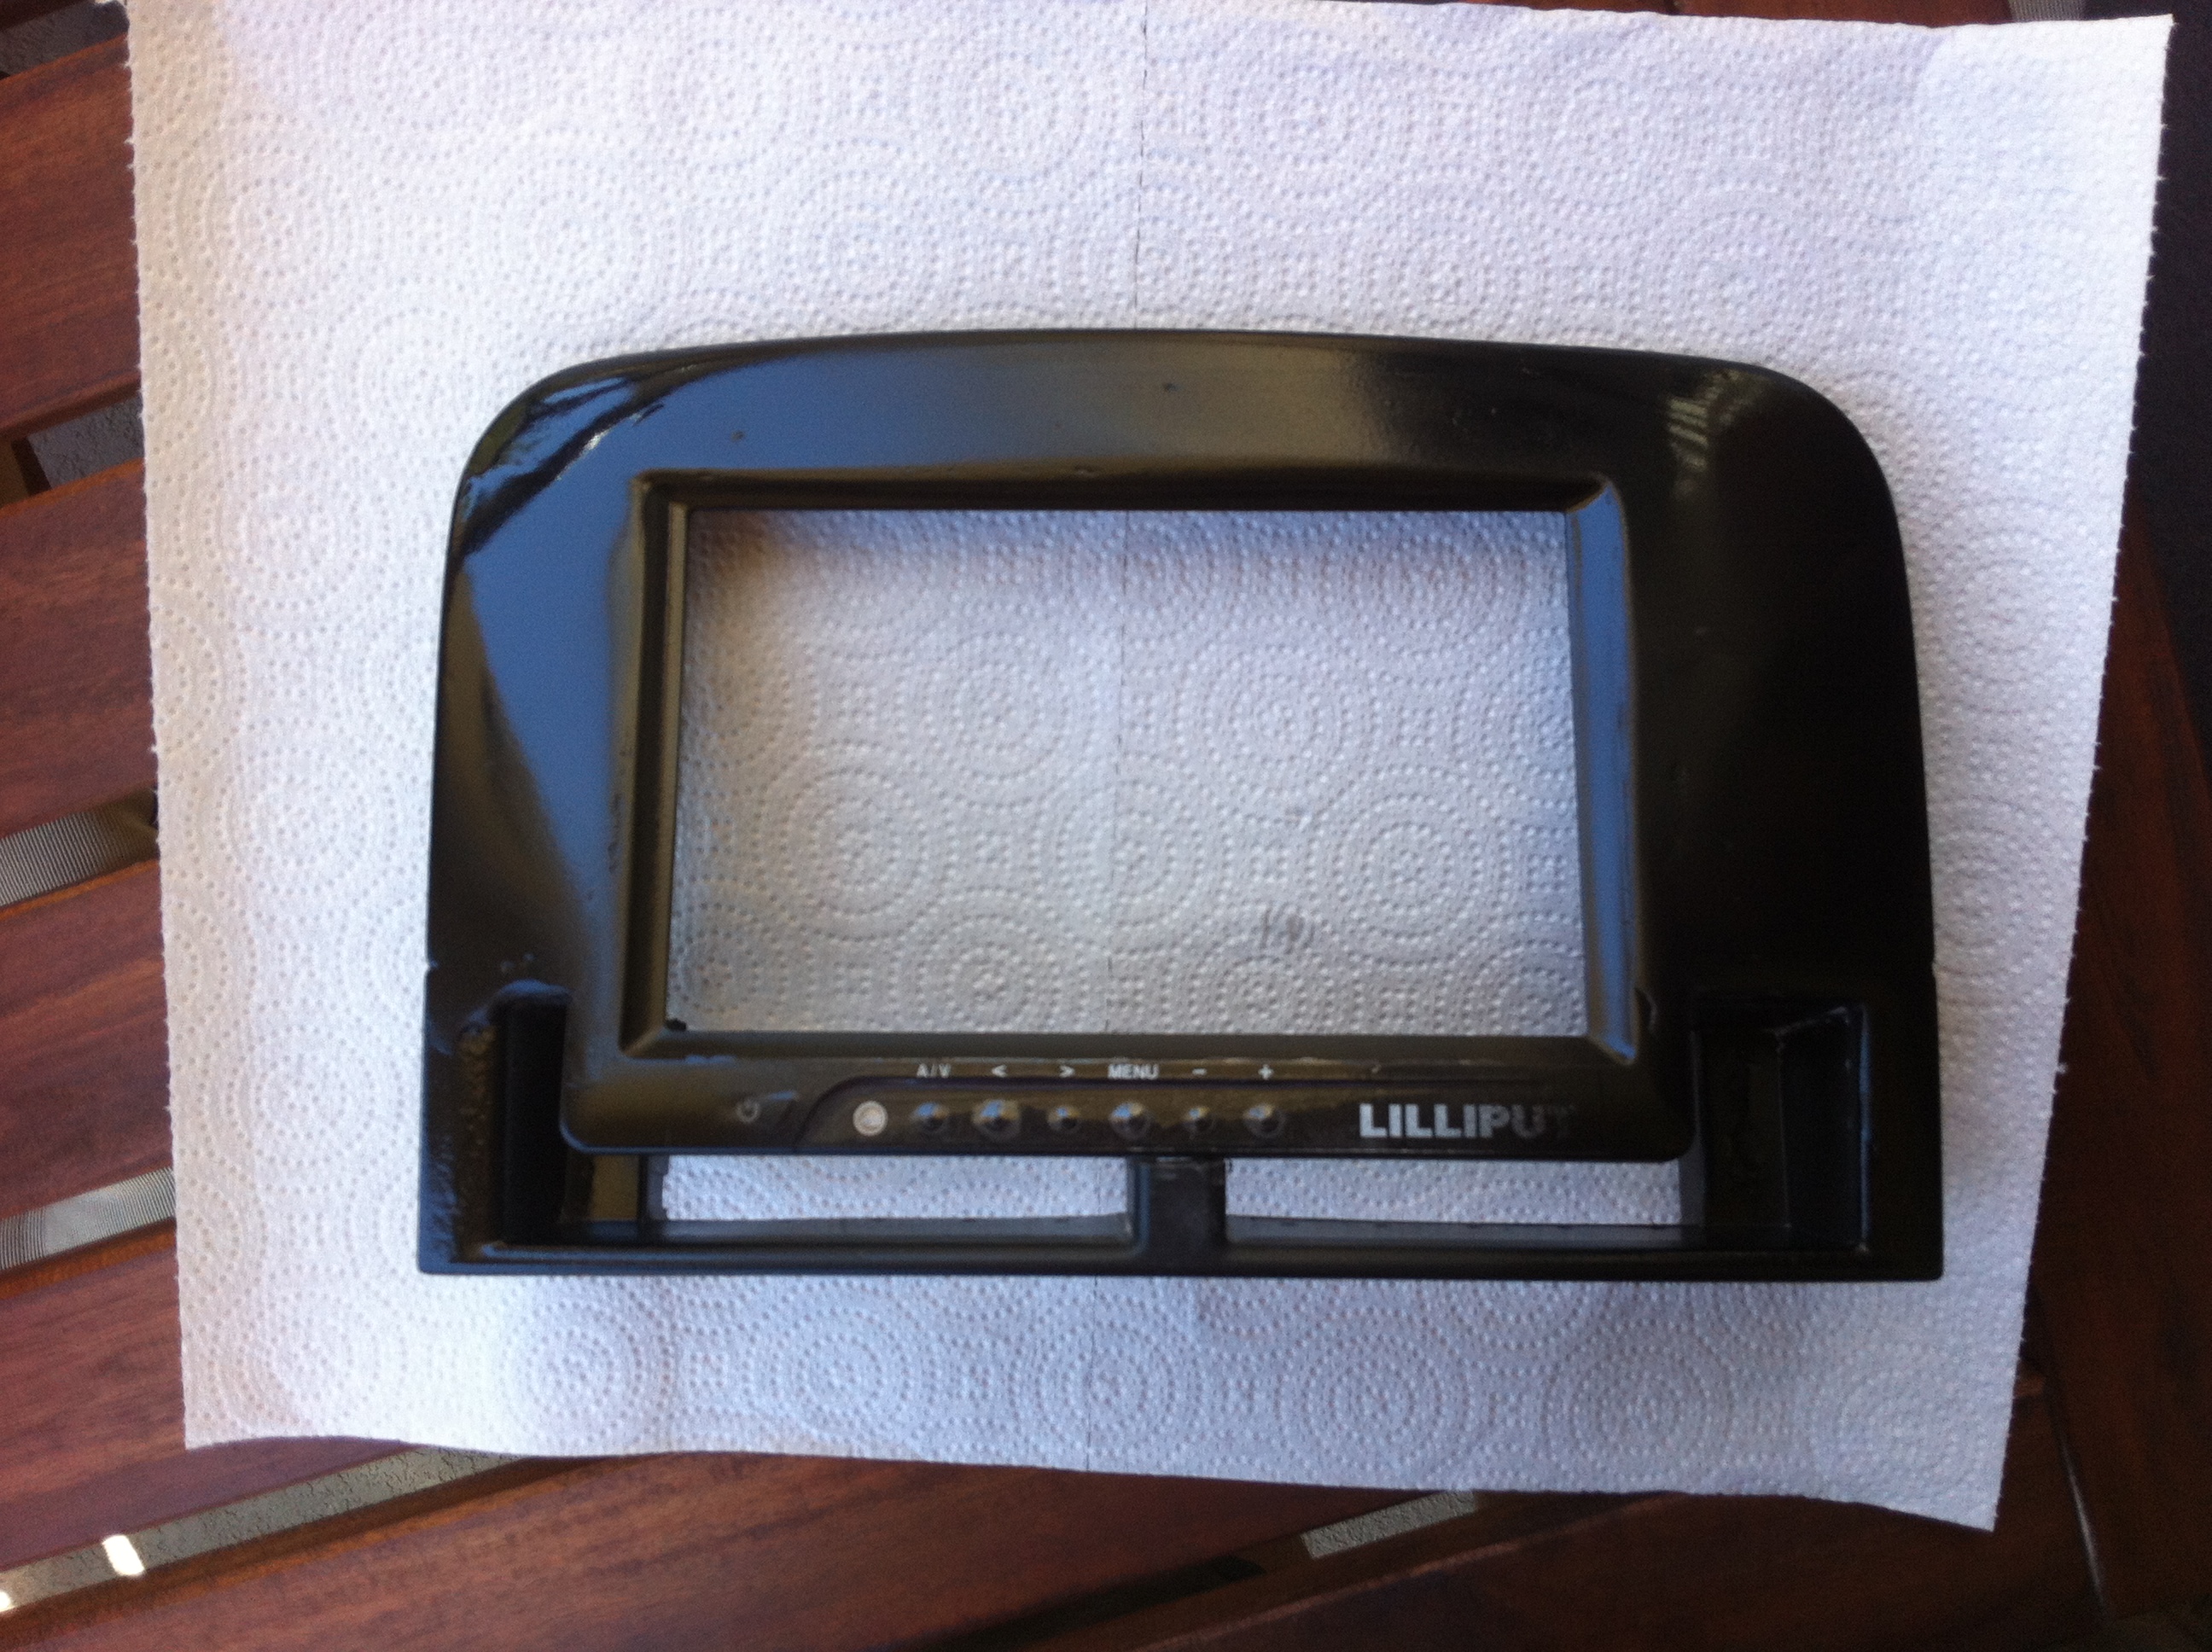
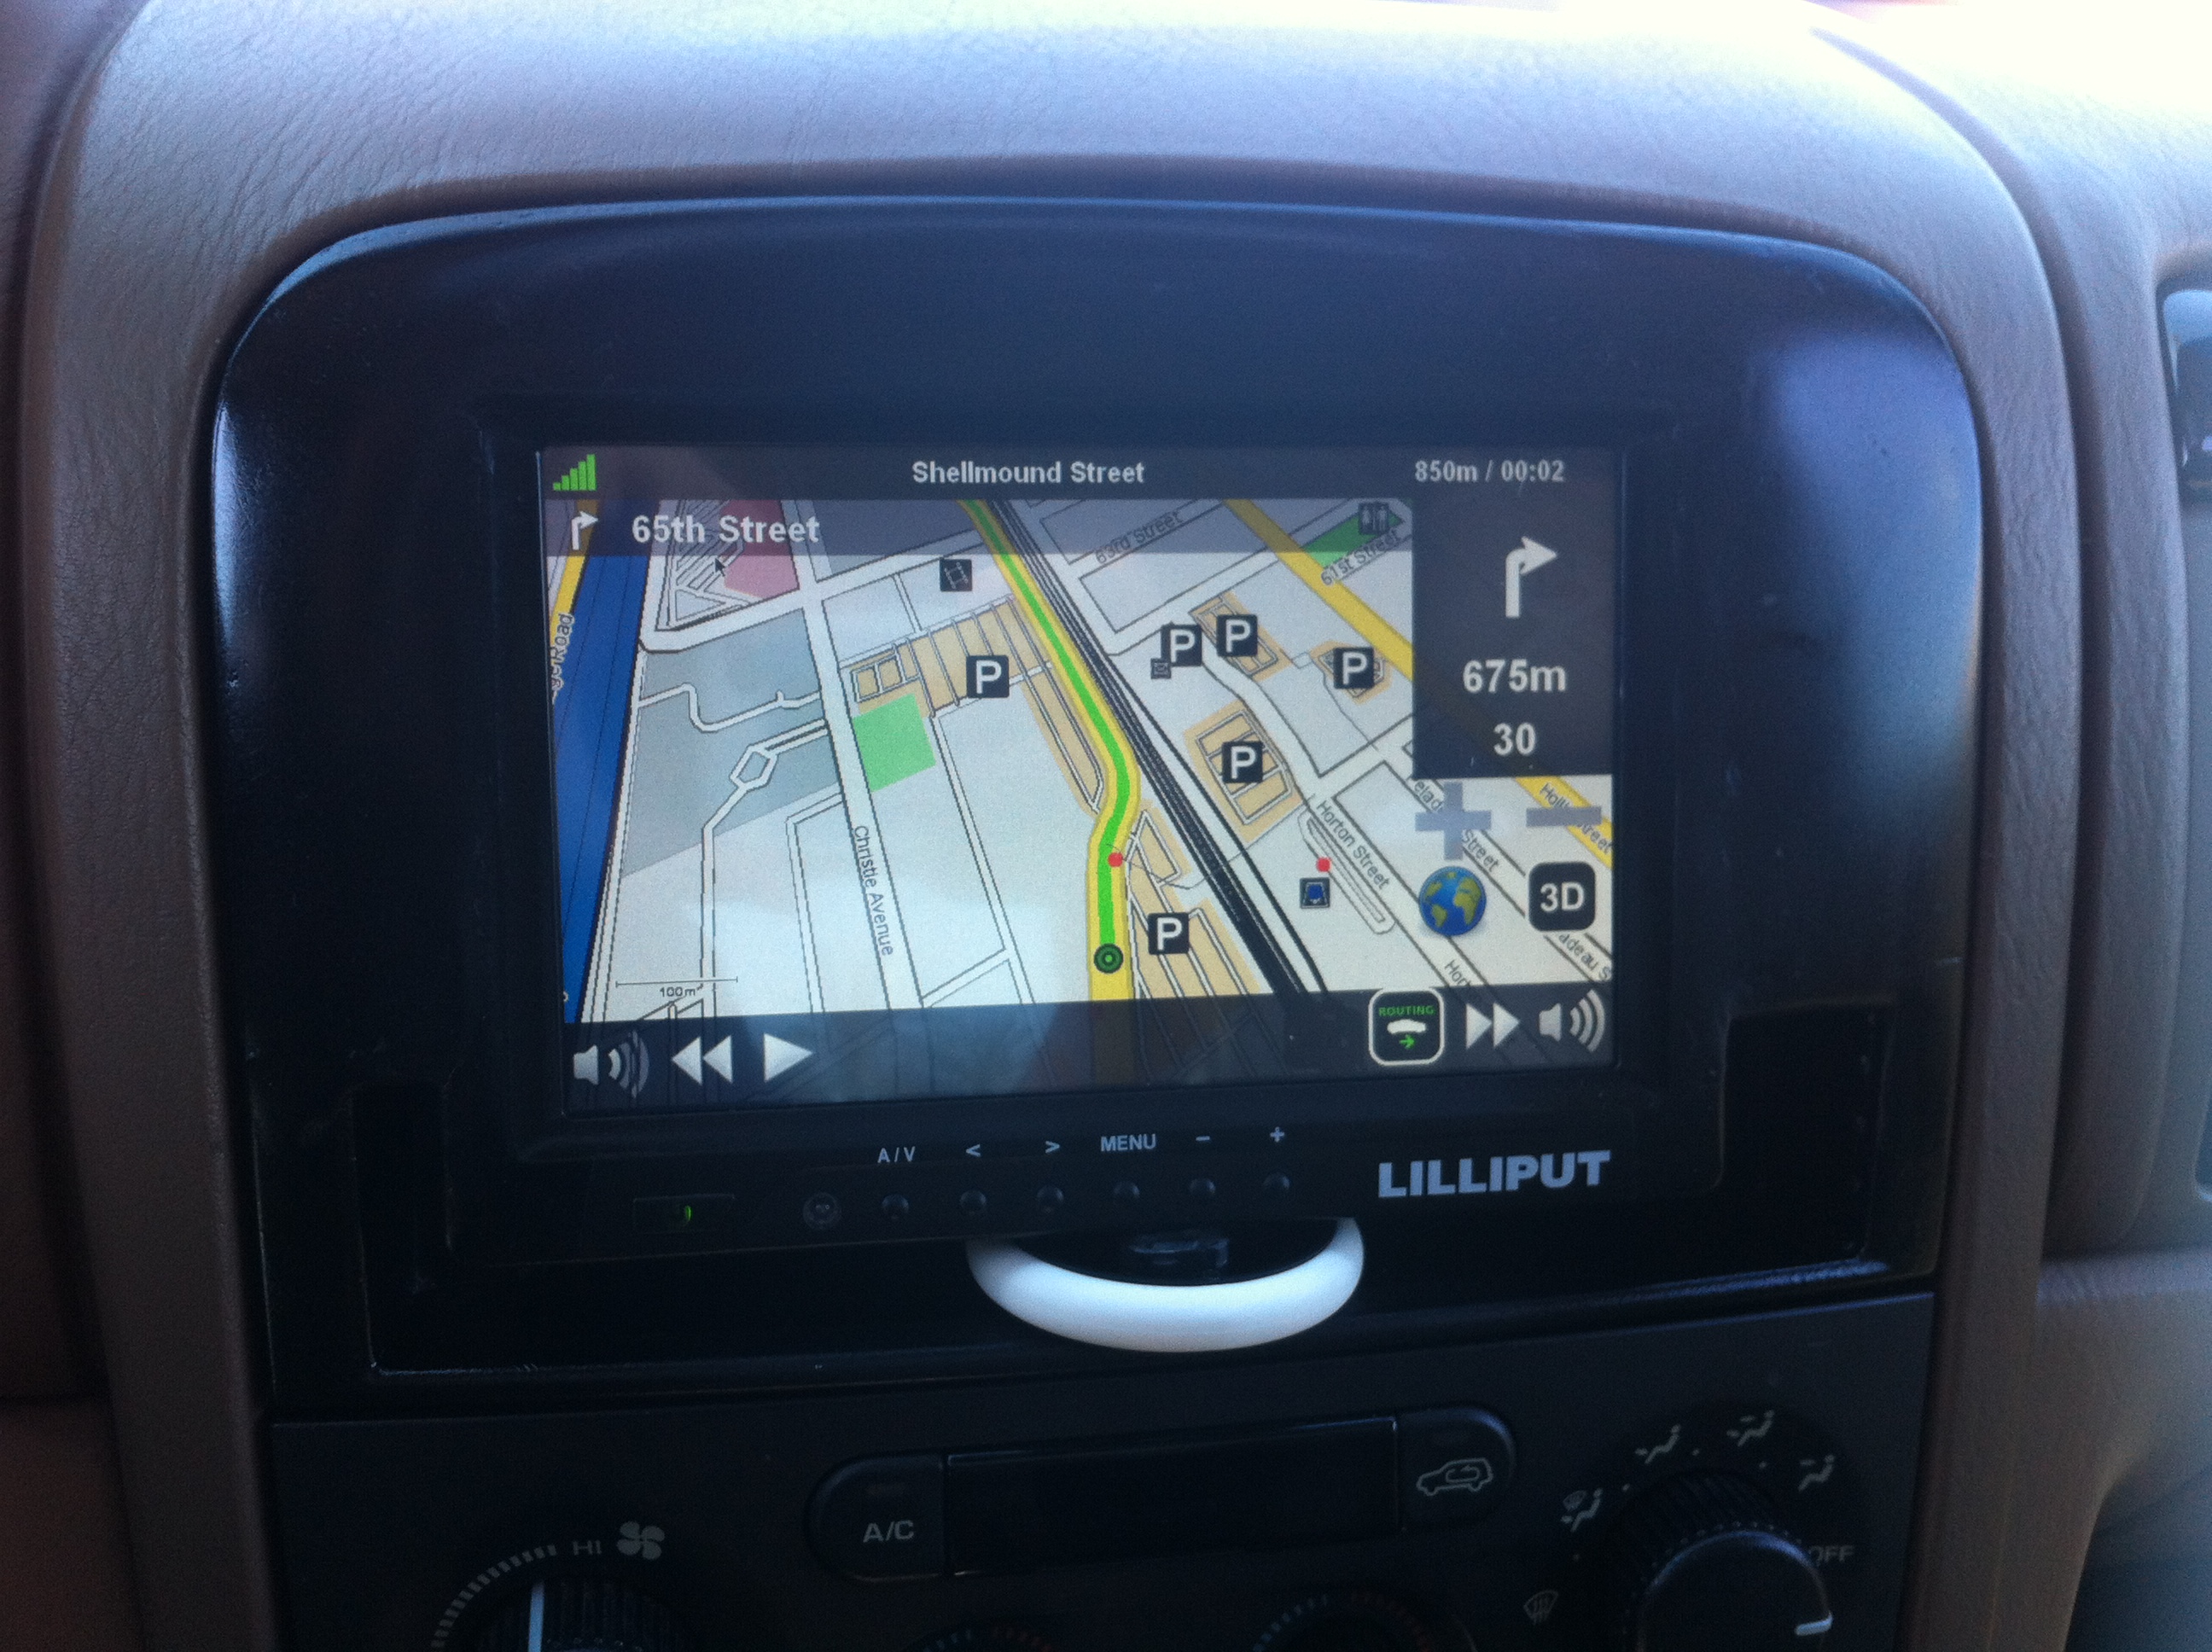 After polisthing the screen bezel with more bondo, sanding and painting, the result was looking quite good. I pondered keeping the screen controls, but eventually decided that it’s sometime useful to be able to turn it off.
The carputer
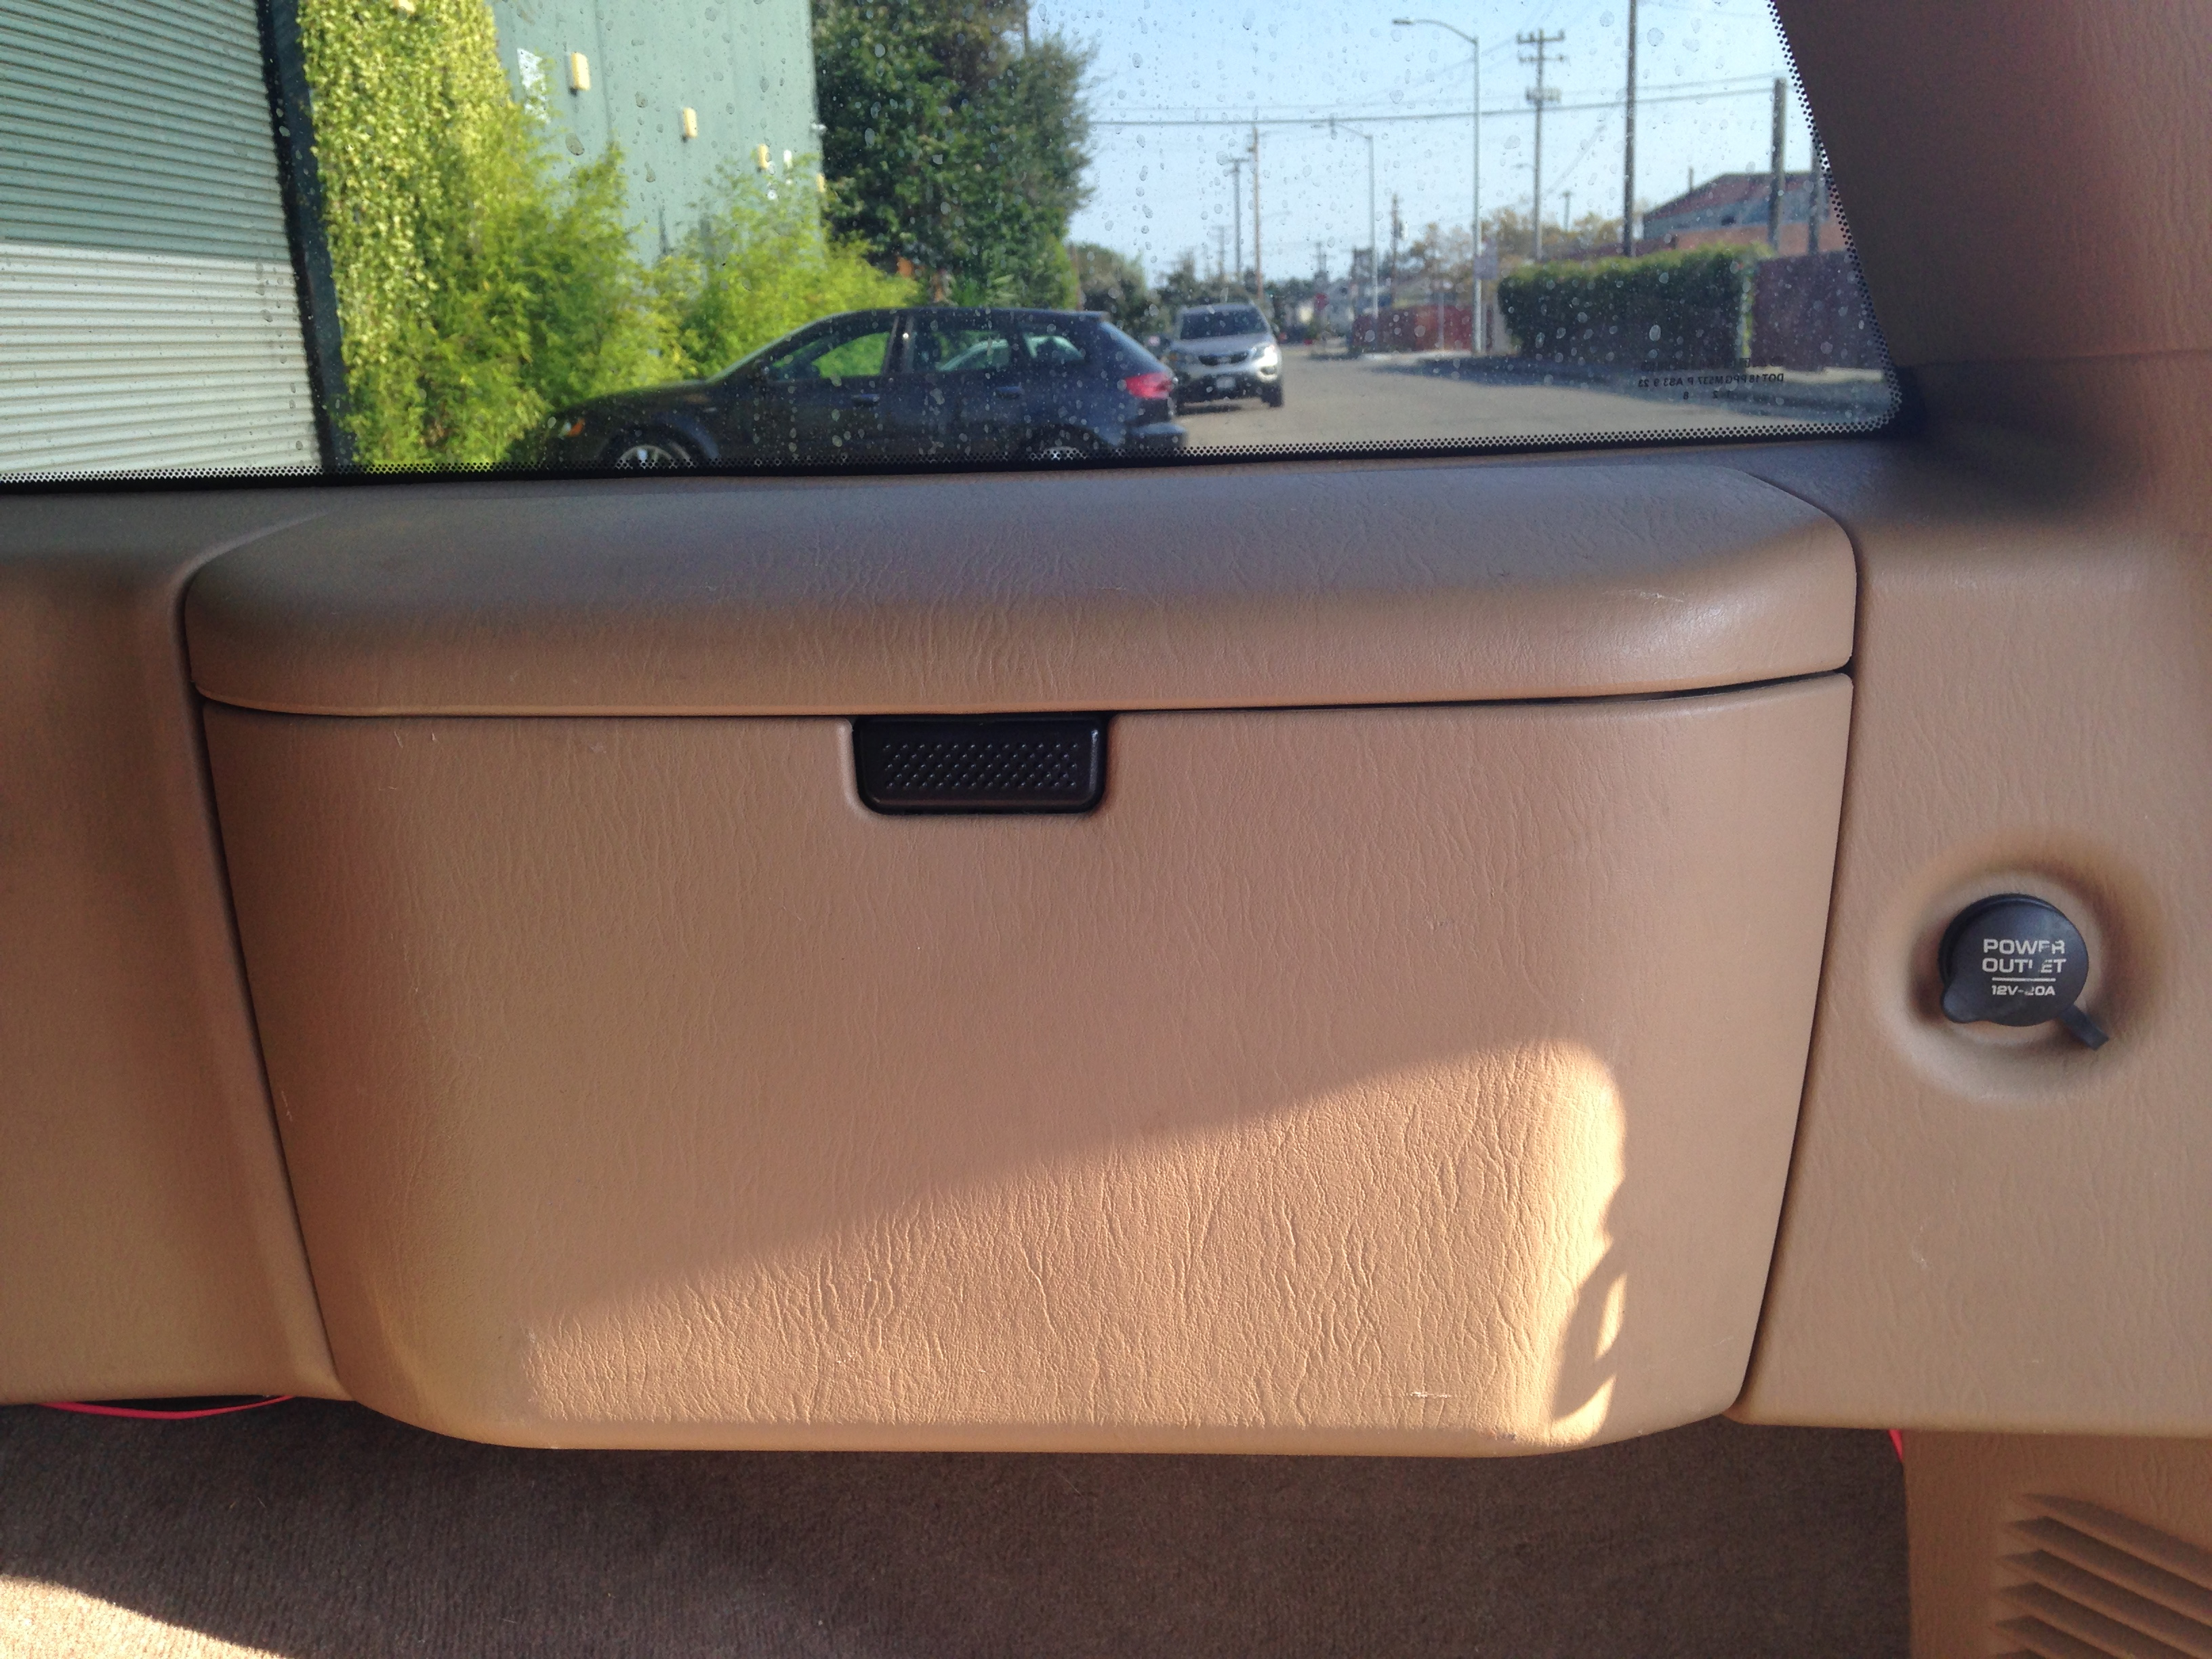 Having a good looking screen is useless without a proper computer to drive it. My first prototype included a Raspberry Pi directly behind the screen. Unfortunately, it wasn’t really powerful enough (it was the first Rasperry Pi model B) and it was struggling to handle the GPS navigation with some spotify playback at the same time.
So instead I decided to use an Intel Nuc platform. It’s really tiny (about 17x17cm) but quite powerful.
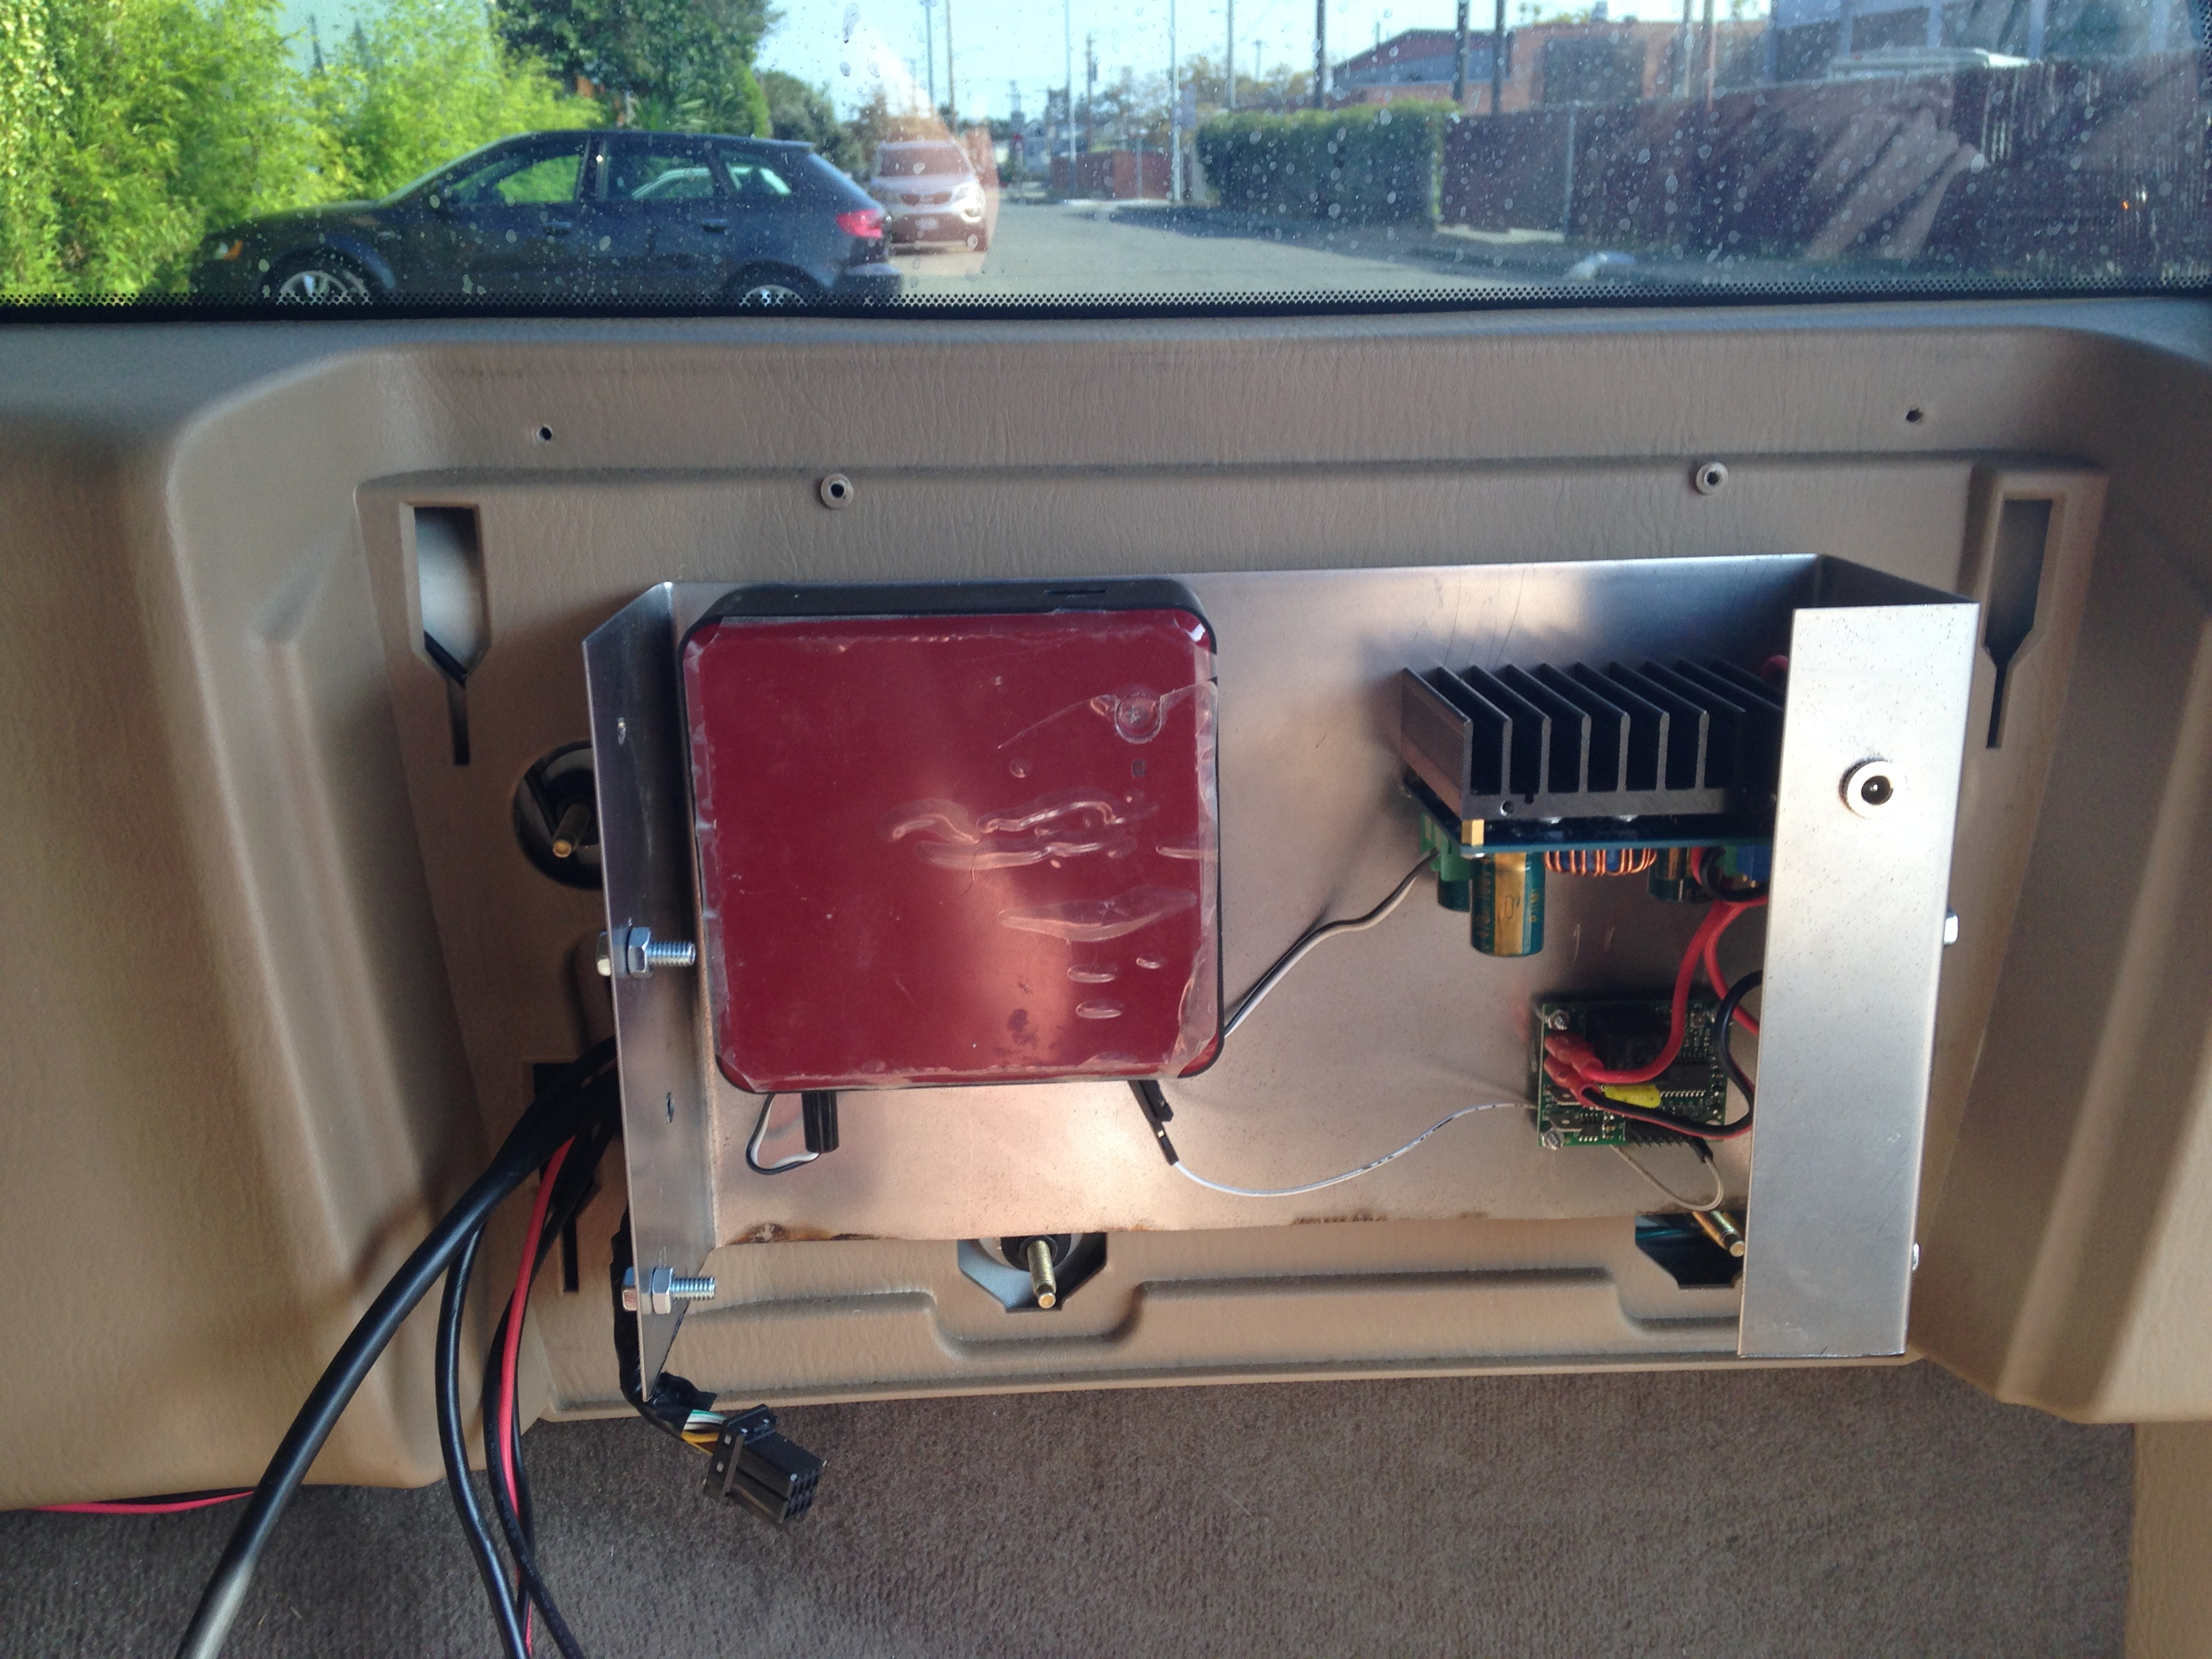 My car came also with a CD charger in the trunk. I removed it, and crafter a very simple support plate to hook the Nuc in the trunk in place of the CD charger. When the box is closed, nothing shows that this has been modified. This box includes the NUC itself, a DC/DC stepper (the NUC needs 19V) and an ‘intelligent’ power supply that will turn on and shutdown the computer when I start or stop the engine.
Behind the scene
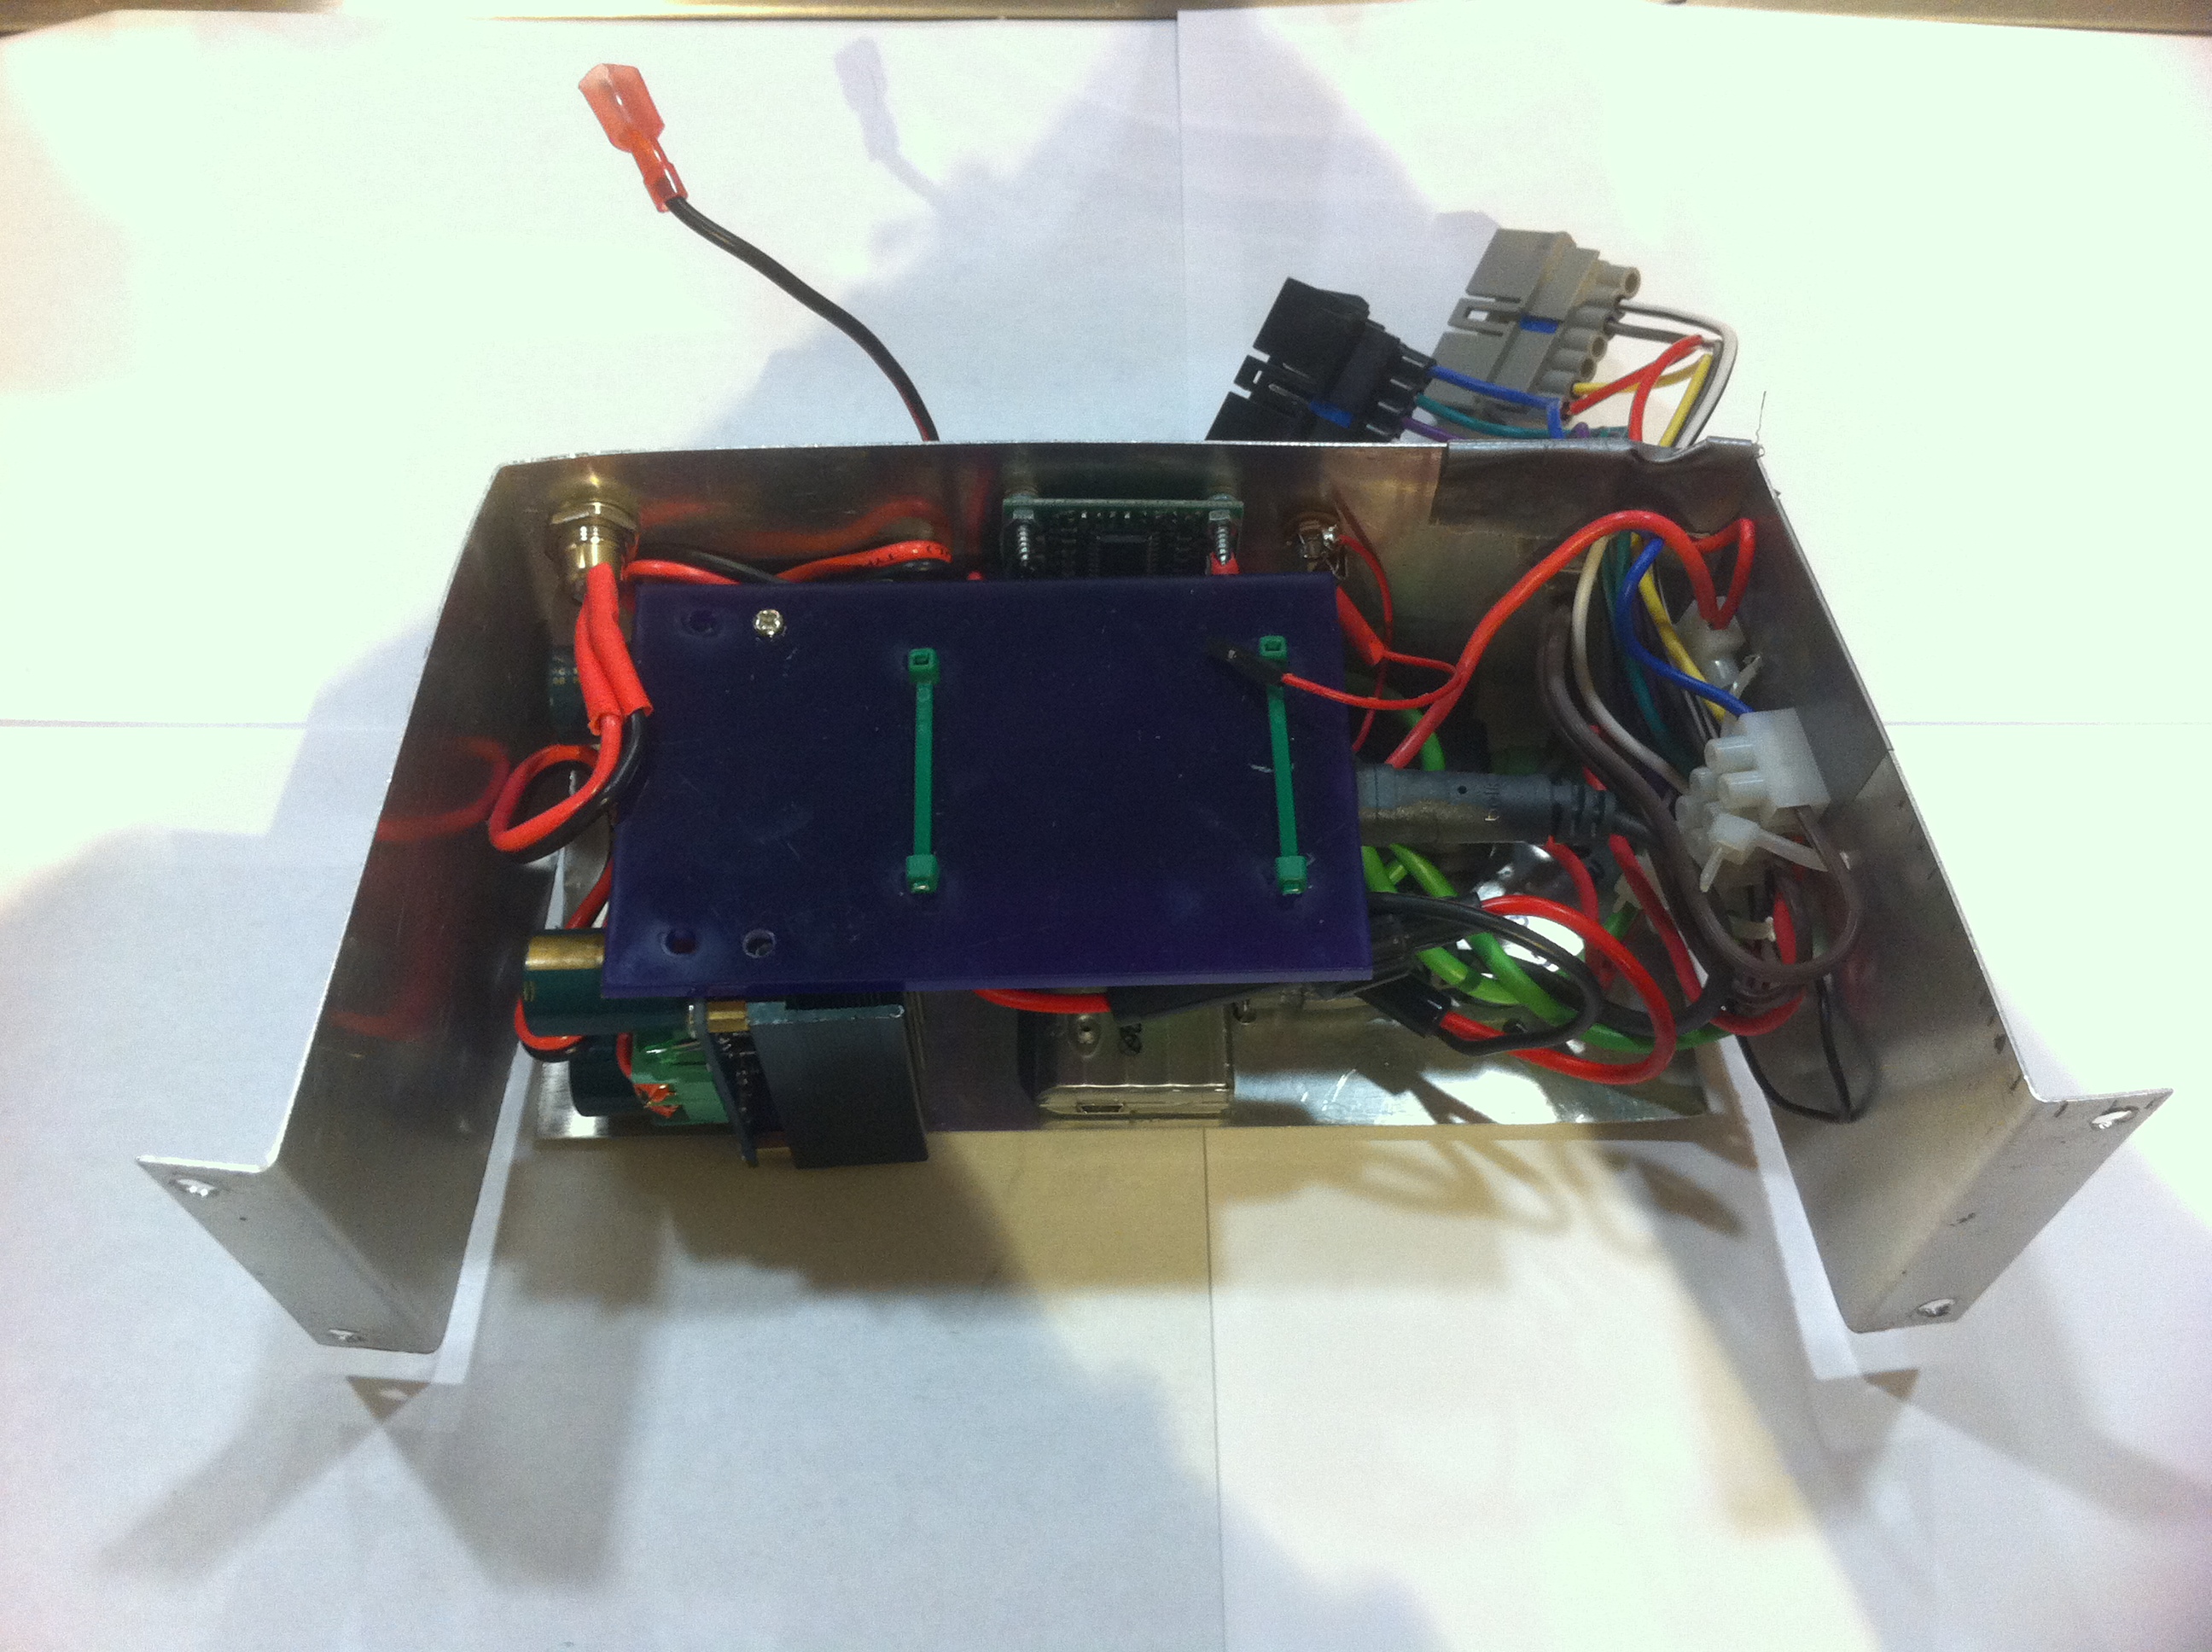 Operating a carputer requires a few more devices, so behind the screen, where the tape player used to live, I have a small enclosure with a few boards: a USB hub to avoid running multiple cables to the trunk, a relay switch to shutdown and start the car audio amplifier, and a USB soundcard (since I am using the original connectors). This enclosure just sits in place of the original tape player.
Never satisfied
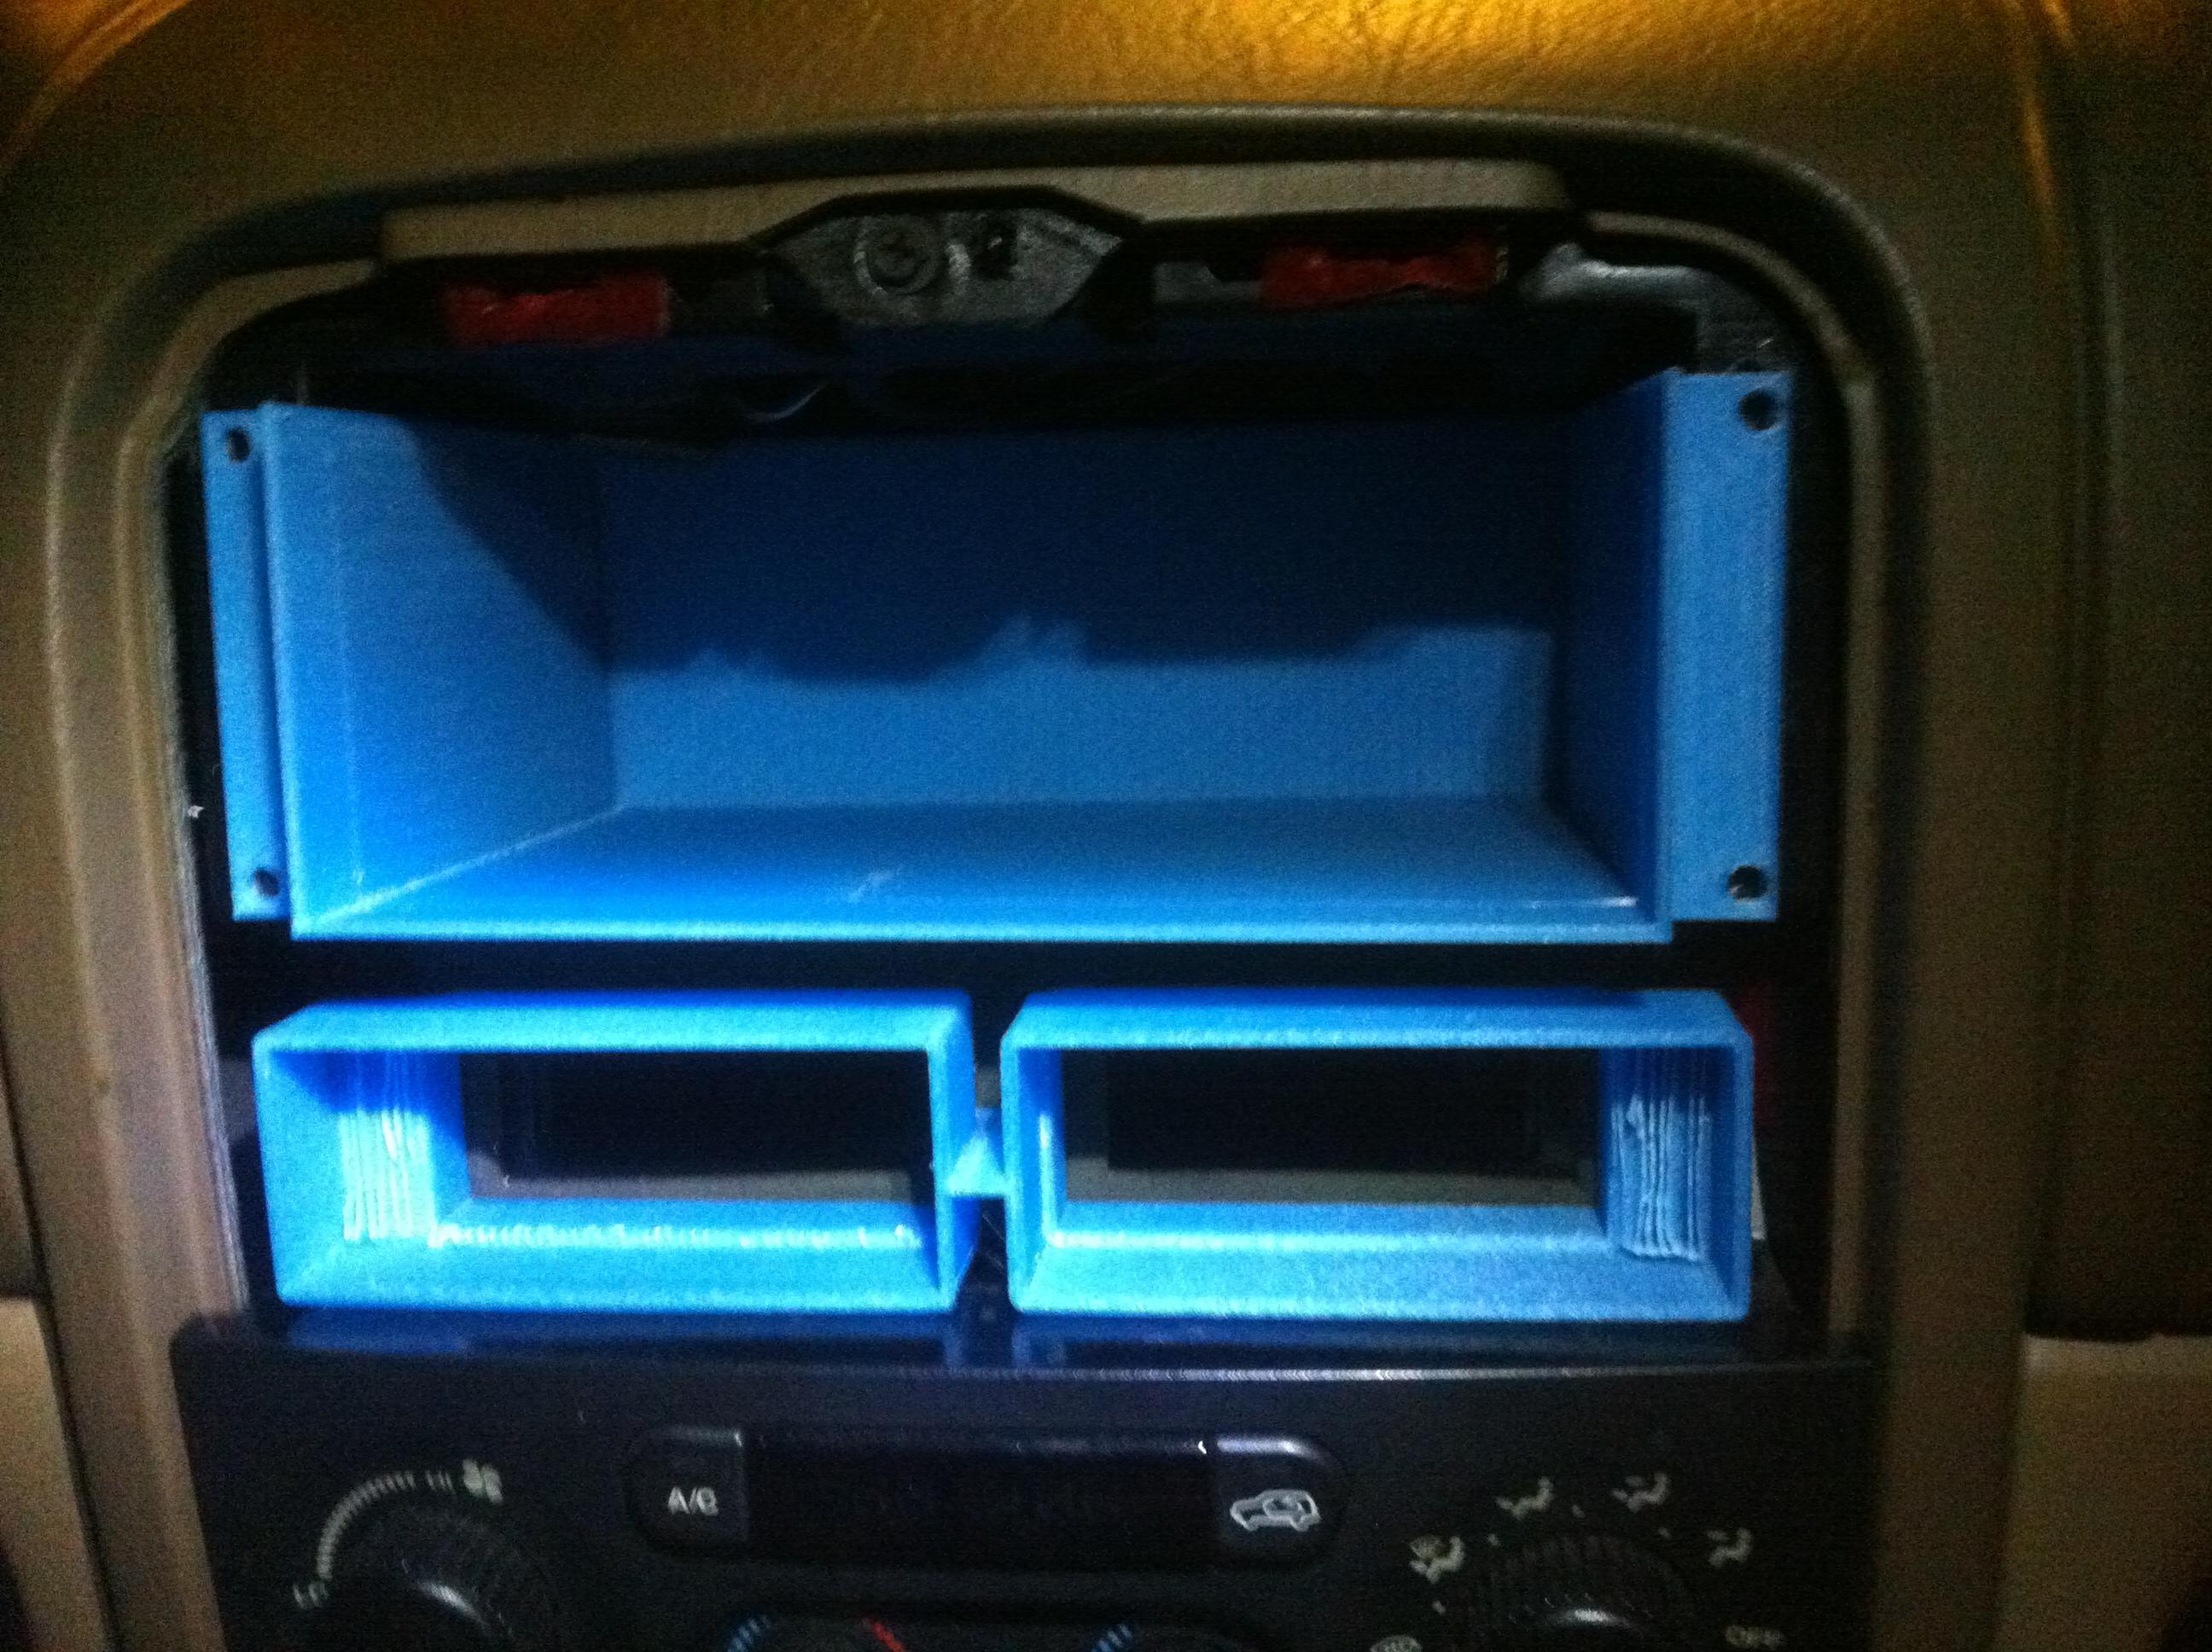 Everybody probably has at least one project that he feels it’s never truly finished. There’s always something to improve. For me, it’s probably this project. I have been using it in my car for around two years now, but there is a few things that I want to change. I have been toying with a new design, using a 3D printed bezel for example, that should help achieve an even better looking result.
Also, I can access all the required features using the touchscreen, and I can control the audio playback using the steering wheel controls (more about this in an upcoming post), but I sometimes feel that my current setup misses a few physical buttons, so I have been thinking about that. I’ll probably post an update in another blog once this is done!


