Quadcopters are really fun, and I wanted to build one for a long time. My main intent was to take pictures and shoot videos from a new angle. Also, this has to be fun to fly!
Team work
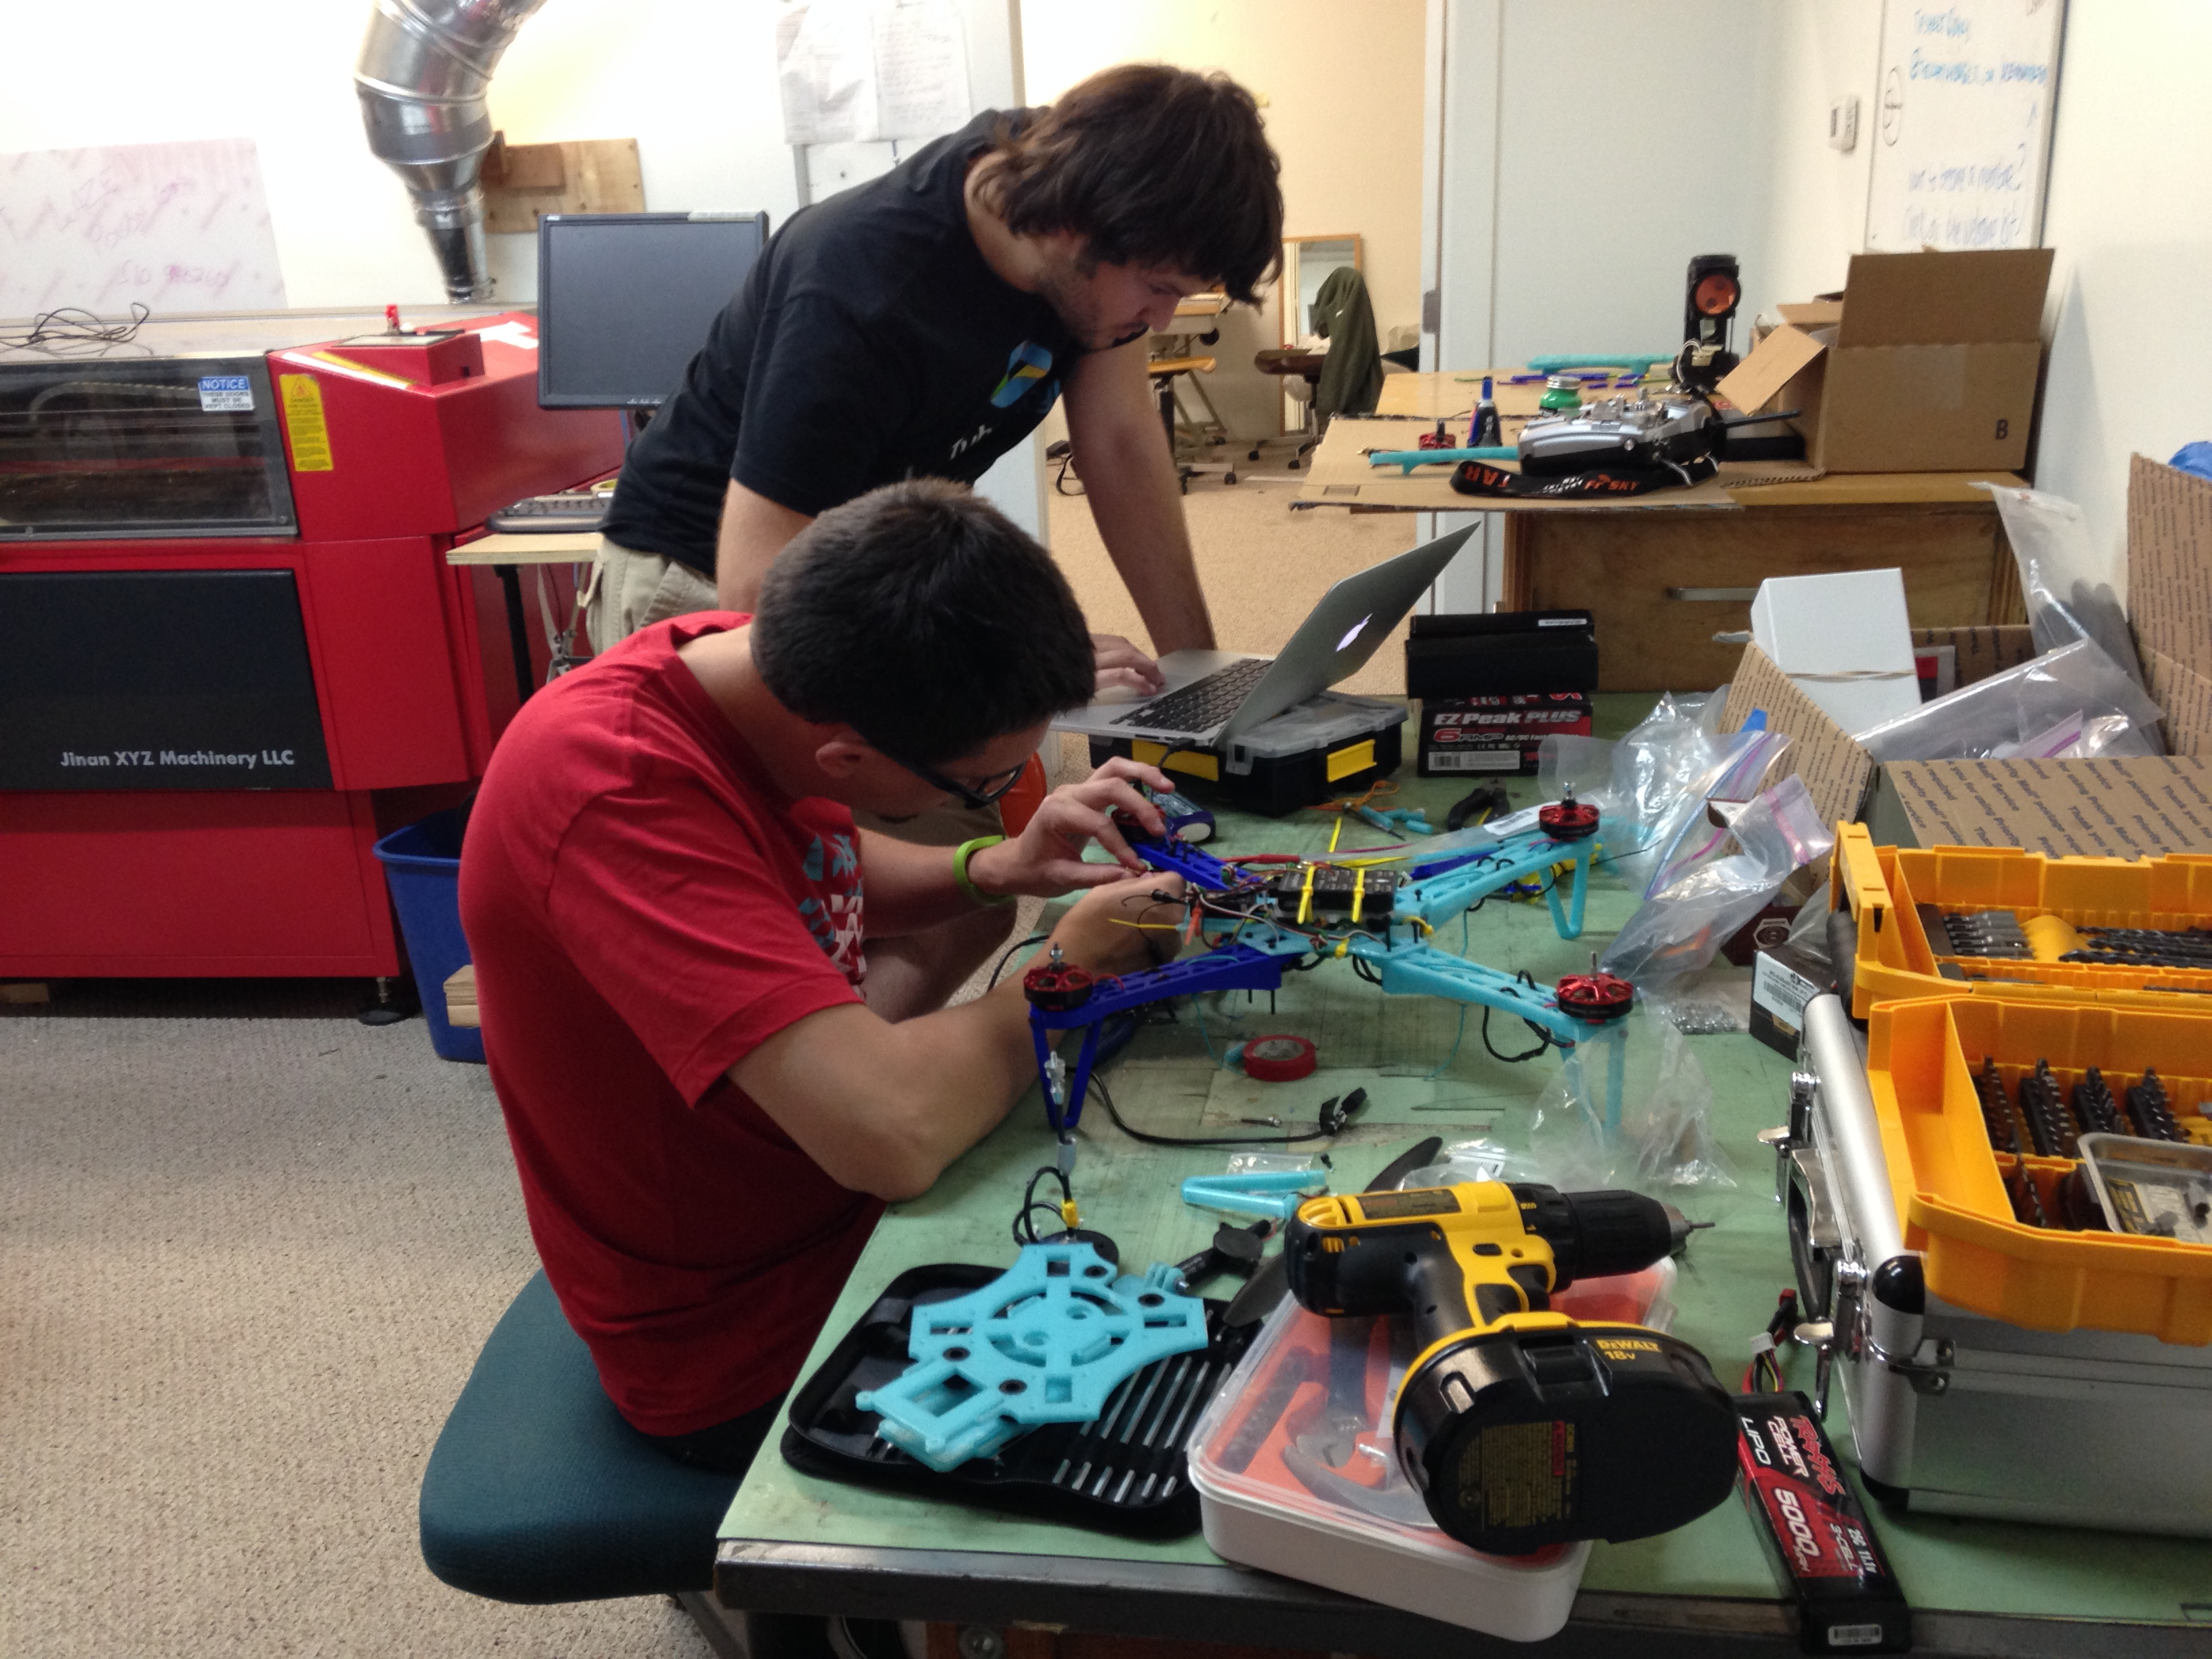 I was working on this project with a few friends, all of us were absolute beginners when it comes to quadcopters. Since the construction can be split into subtasks it was easy to keep everyone busy, between soldering cables, tweaking the 3D printing settings, or configuring the flight controller. Team work is fun, especially when you spend several hours focused on the same project. Everybody learned something along the way.
Leveraging 3D printing
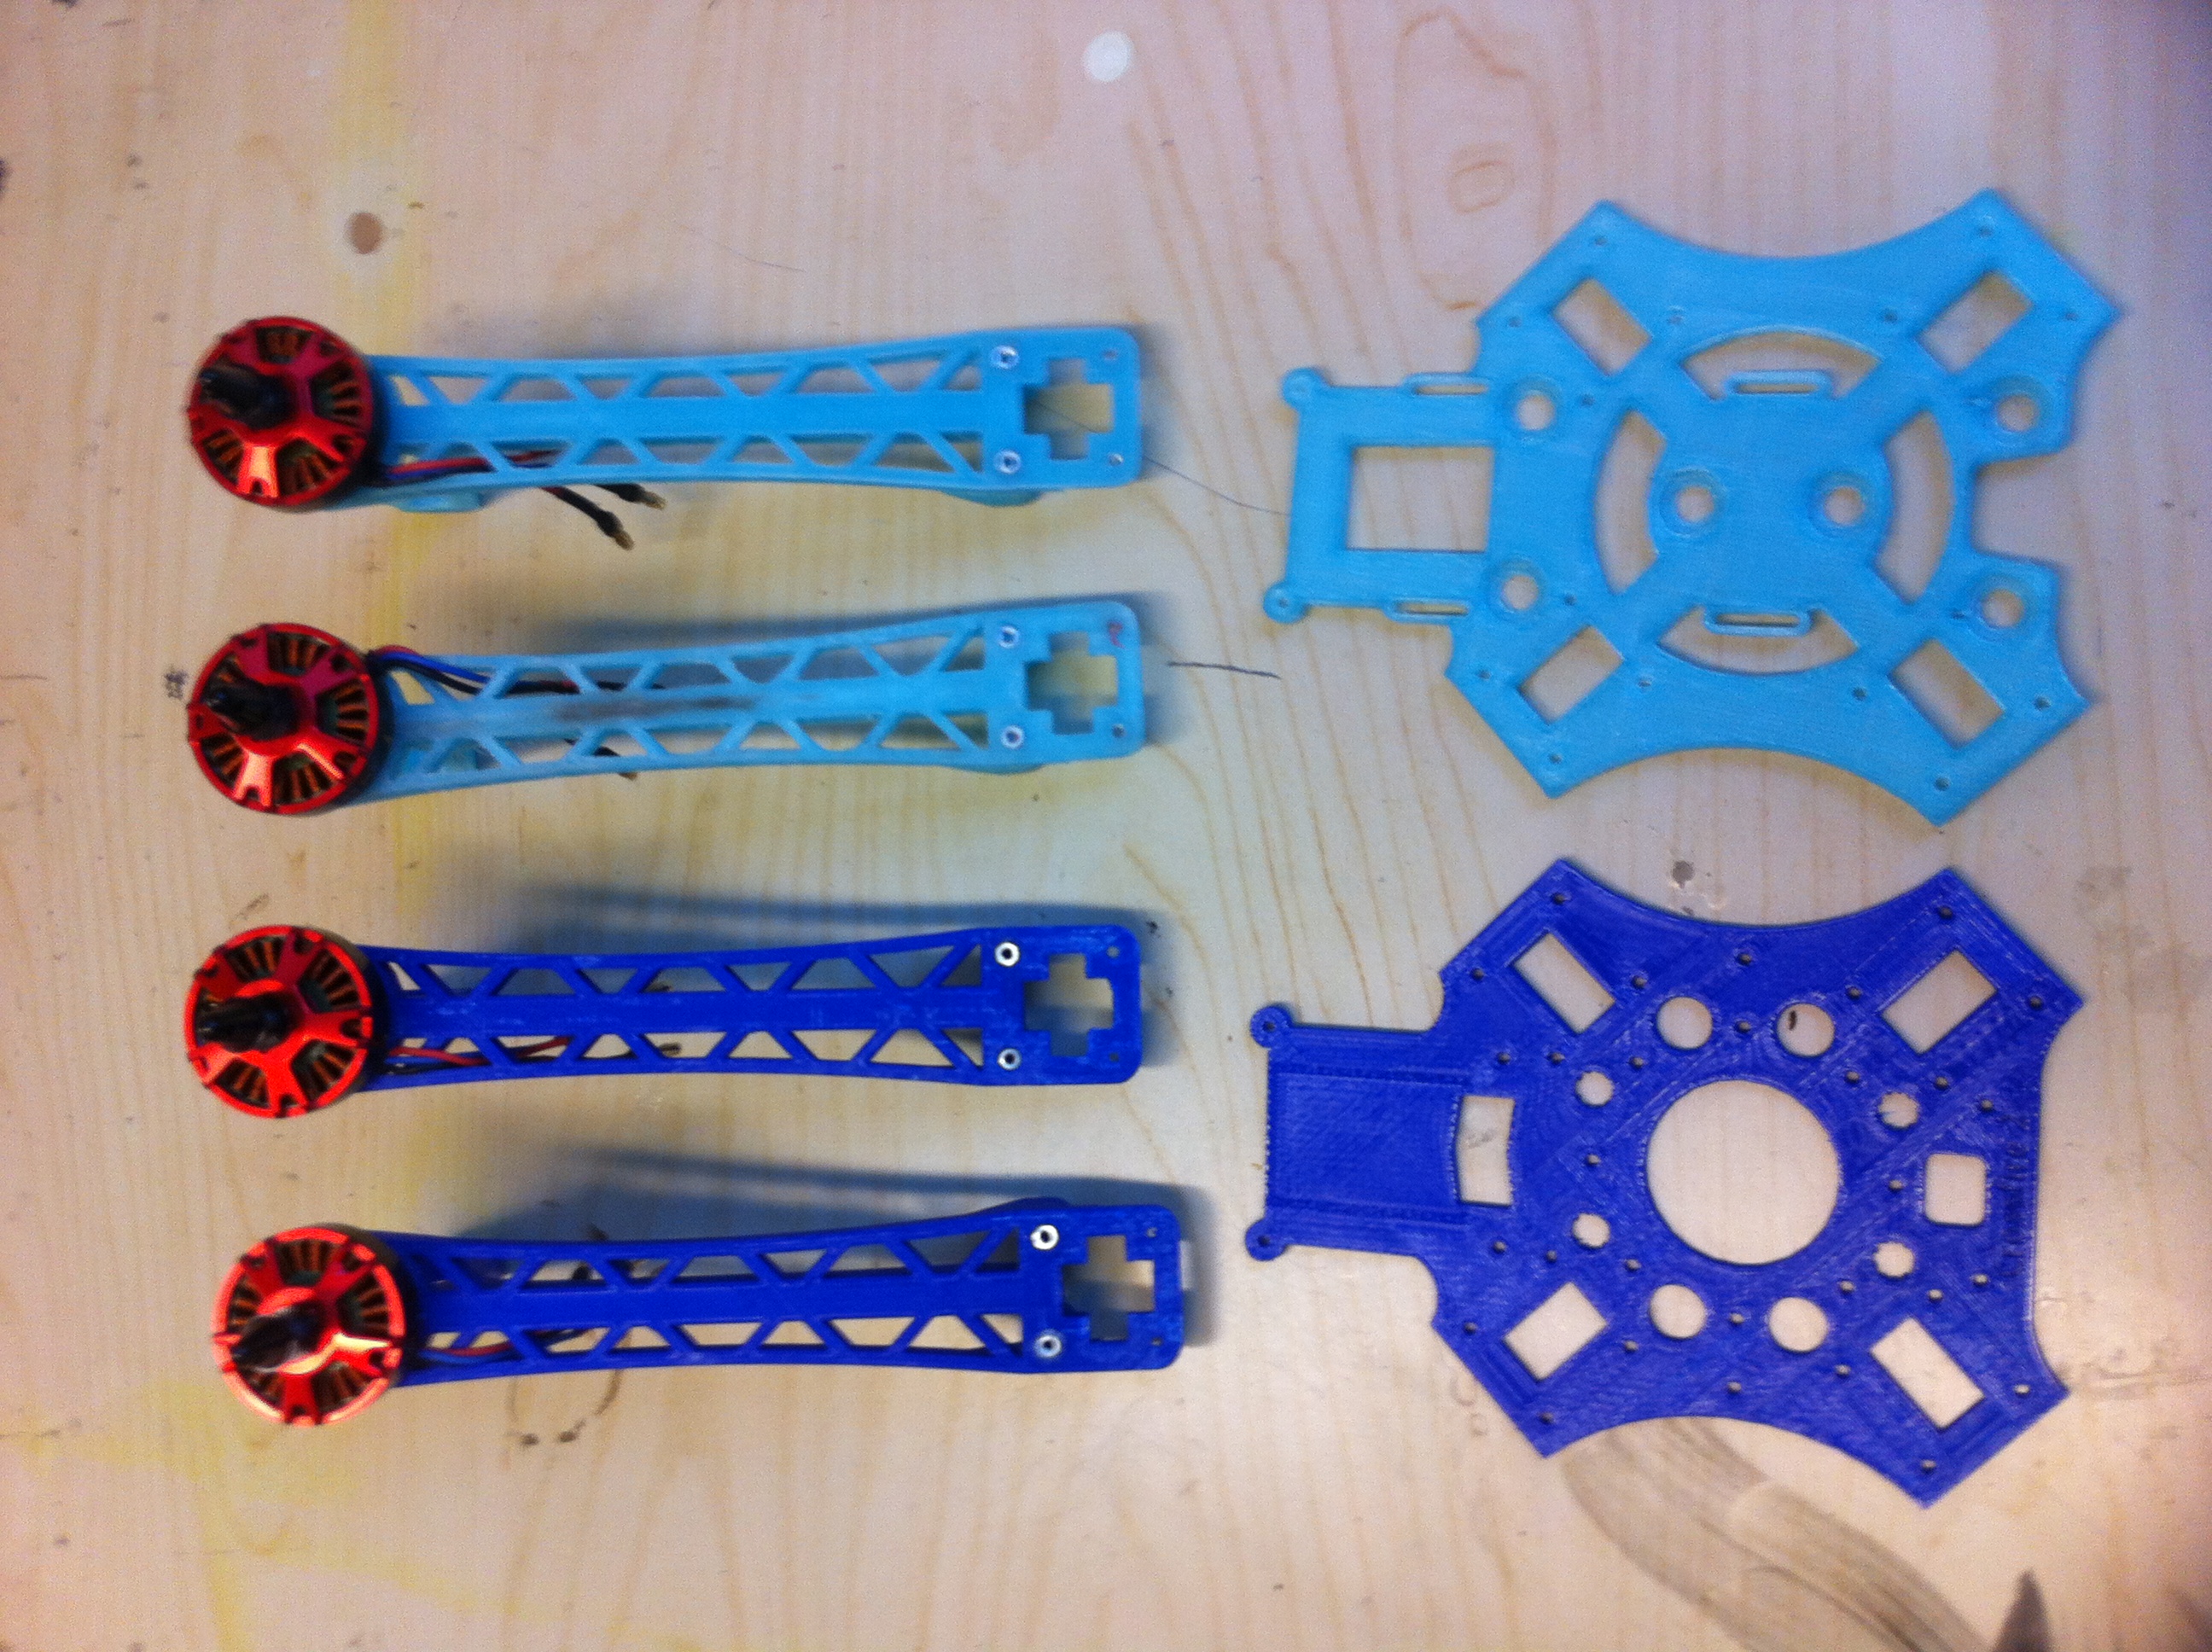 Because we wanted to learn about how quadcopters work, we choose to build our own instead of buying one ready to fly. It’s easy to find some sample designs on Thingiverse, for example. We choose to start with the crossfire 2 and customize it a bit to better fit our parts, usage, and to cope with our really poor pilots skills (because crashing means re-printing parts.. And we crash A LOT! :)).
Working on the assembly
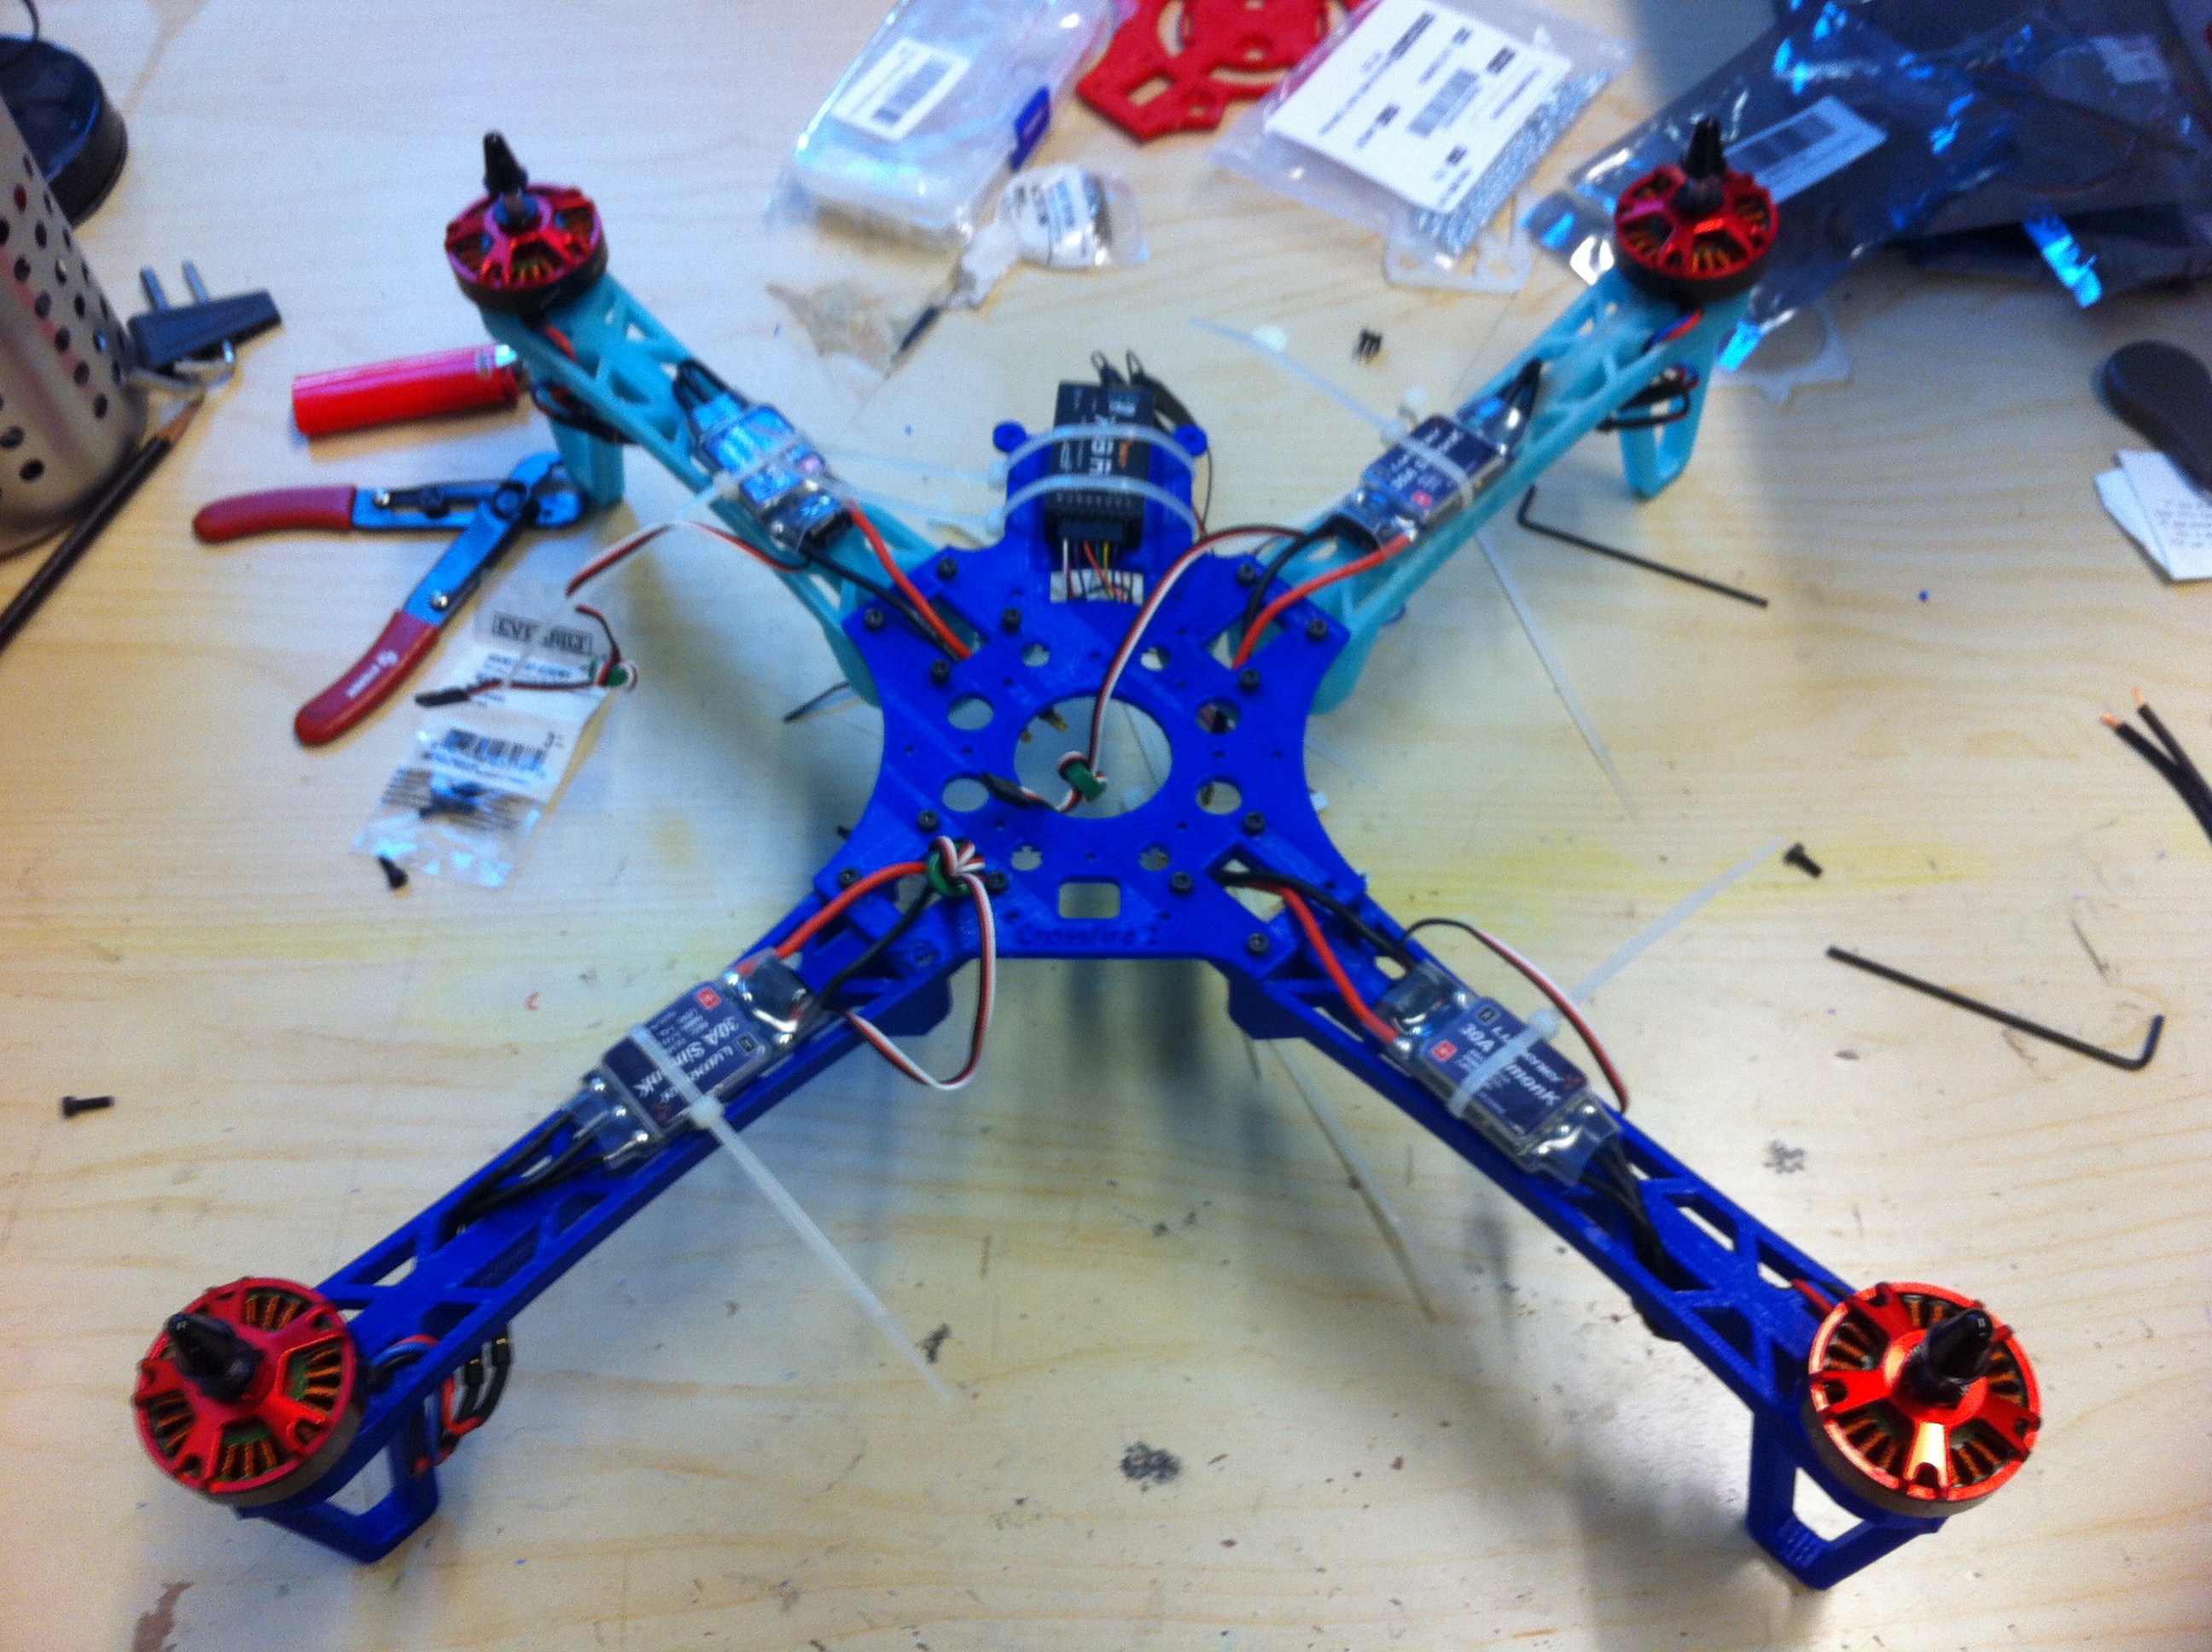 The crossfire 2 comes with a very detailed instruction guide. For most parts you just need to follow the guides, and some parts are specific to the components you choose. We picked the PixHawk flight controller for example (of which the project’s codename is a pun). Overall it was rather easy to get everything assembled. Here you can see the quadcopter with half of the body assembled, the four arms, and the ESCs (Electronic Speed Controllers).
Sample shot
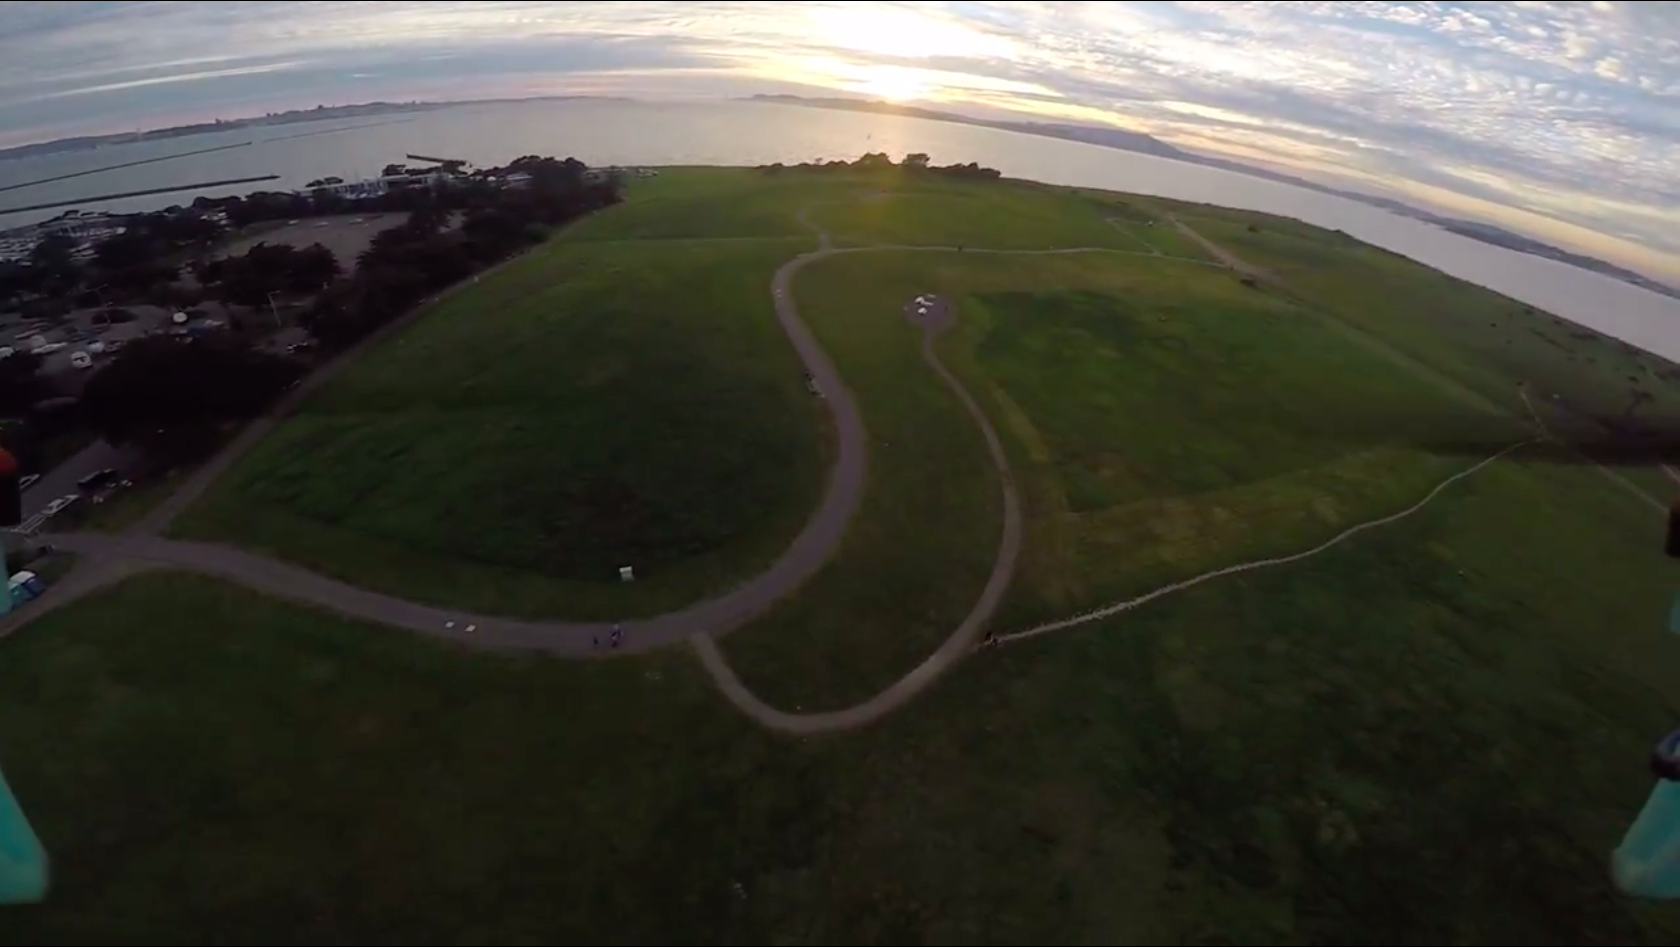
After several weeks of hard work, long hours reading documentation and tweaking the settings, it was time for the inaugural flight. Of course, we crashed it a few times in the process of learning how to fly the thing correctly. But the feeling we got when we were able to make it do almost what we wanted was worth the effort. We hooked up a GoPro on it, and went flying at Cesar Chavez park for a sunset. The view was gorgeous.
